> ## Content Index
> Fetch the complete content index at: https://blog.afi.io/llms.txt
> Use this file to discover other available public pages before exploring further.
# Google Maps with React: Add a Google Map and style it
- URL: https://blog.afi.io/blog/google-maps-with-react-add-a-google-map-and-style-it/
- Published: 2026-04-04T05:37:41.000Z
- Updated: 2026-08-21T05:11:26.000Z
- Description: How to add a Google Map to your website in React and style it using cloud based styling.
- Author: Afian Anwar
- Tags: googlemaps
In this tutorial, you'll learn how to add a Google Map to your React app with the [@vis.gl/react-google-maps](https://visgl.github.io/react-google-maps/?ref=blog.afi.io) library and style it any way you want. Full source code for what we are going to build can be found in our GitHub repository at [react\_google\_maps\_demo](https://github.com/afilabs/react%5Fgoogle%5Fmaps%5Fdemo?ref=blog.afi.io).
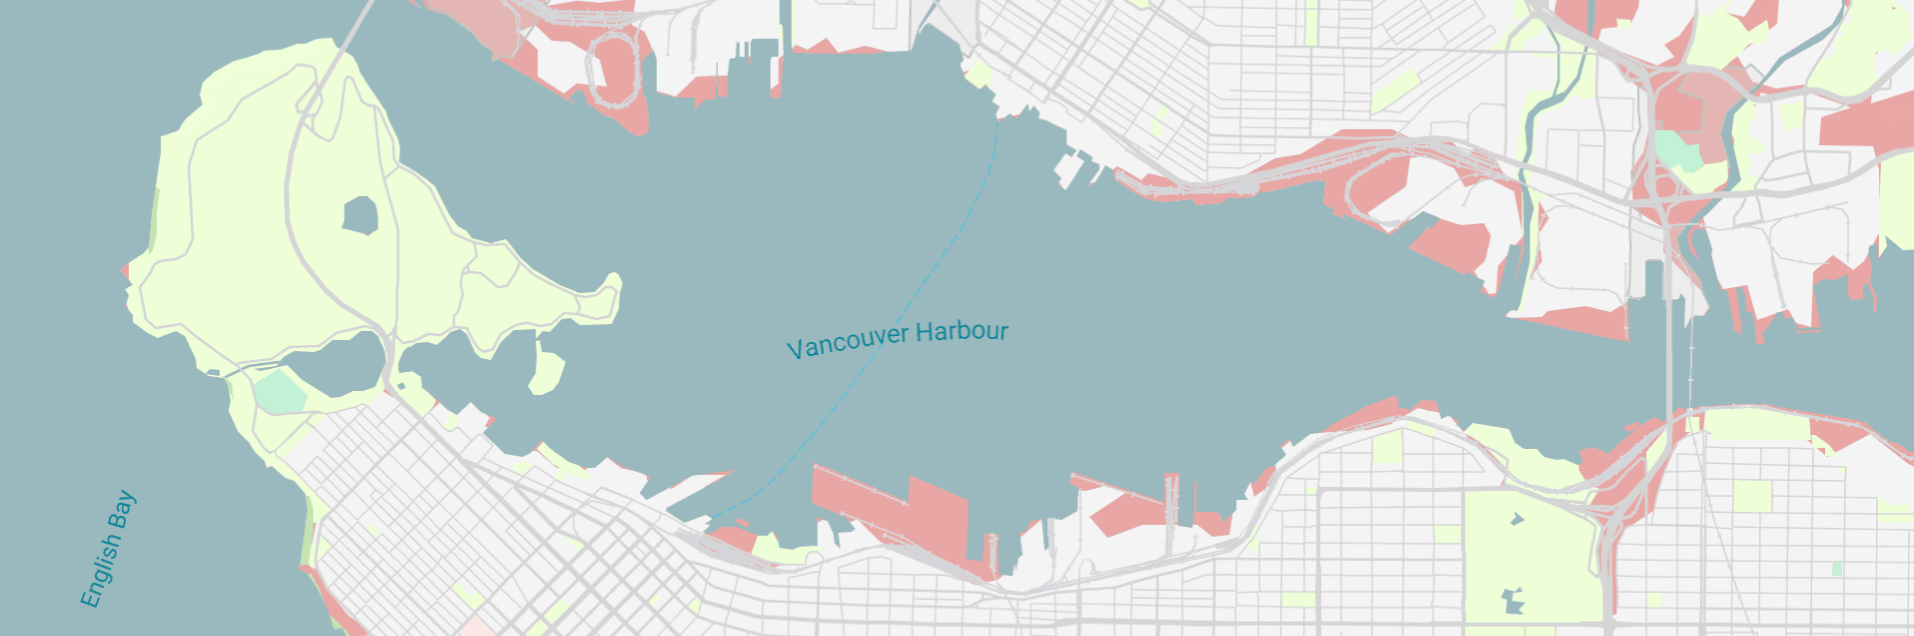
Part 1: [React Google Maps: Build with Google Maps using React](https://blog.afi.io/blog/react-google-maps-build-with-google-maps-using-react/)
**Part 2: Google Maps with React: Add a Google Map and style it (this article)**
Part 3: [Work with Google Maps React map markers and info windows](https://blog.afi.io/blog/work-with-google-maps-react-map-markers-and-info-windows/)
Part 4: [Draw a Google Maps polyline in React](https://blog.afi.io/blog/draw-a-google-maps-polyline-in-react/)
Part 5: [Three ways to add Google Autocomplete to your React app](https://blog.afi.io/blog/three-ways-to-add-google-autocomplete-to-your-react-app/)
### Run a Google Maps app in React
Before we write any code, let's cover what you'll need to get started:
1. A web server. We'll be using [Vite](https://vite.dev/?ref=blog.afi.io), a modern build tool and development server for frontend projects.
2. A Google Maps API key (get a [free demo key](https://mapsplatform.google.com/maps-demo-key/?ref=blog.afi.io)).
3. An IDE like [VS Code](https://code.visualstudio.com/?ref=blog.afi.io). You could also use a lightweight text editor such as [Sublime Text](https://www.sublimetext.com/?ref=blog.afi.io).
4. [Node.js](https://nodejs.org/en?ref=blog.afi.io), a runtime environment that lets Javascript run on your computer, outside of a browser.
5. A command line app such as [Terminal](https://support.apple.com/en-ca/guide/terminal/trmld4c92d55/mac?ref=blog.afi.io) (MacOS) or [PowerShell](https://learn.microsoft.com/en-us/powershell/?ref=blog.afi.io) (Windows).
**Scaffold our React app**
1. Open Terminal and create a new project folder called `react_google_maps_demo`, then switch into it.
2. Type `npm create vite@6.0.0 . – --template react` to create a new Vite React project in the current folder.
3. You should now see a bunch of new files and folders being created:
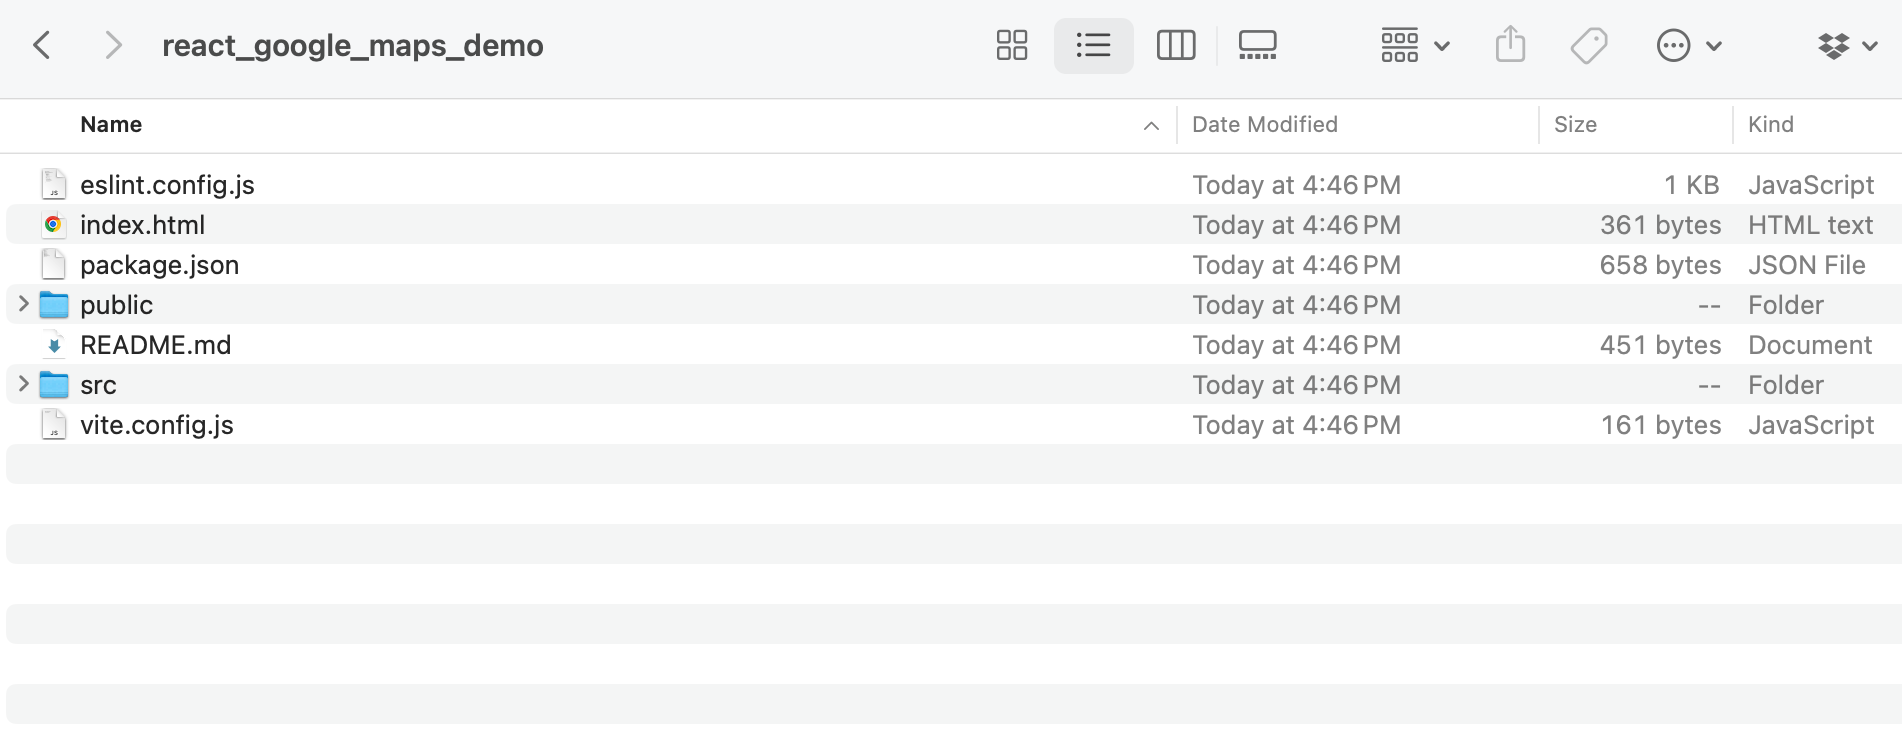
The folder structure for a typical React app
**Test run the app**
To make sure everything is working fine, run `npm install` followed by `npm run dev`. `npm install` downloads all the dependencies into a `node_modules` folder. `npm run dev` starts the local dev server.
Then open your browser and go to `http://localhost:5173`. You should see the default Vite + React welcome page.
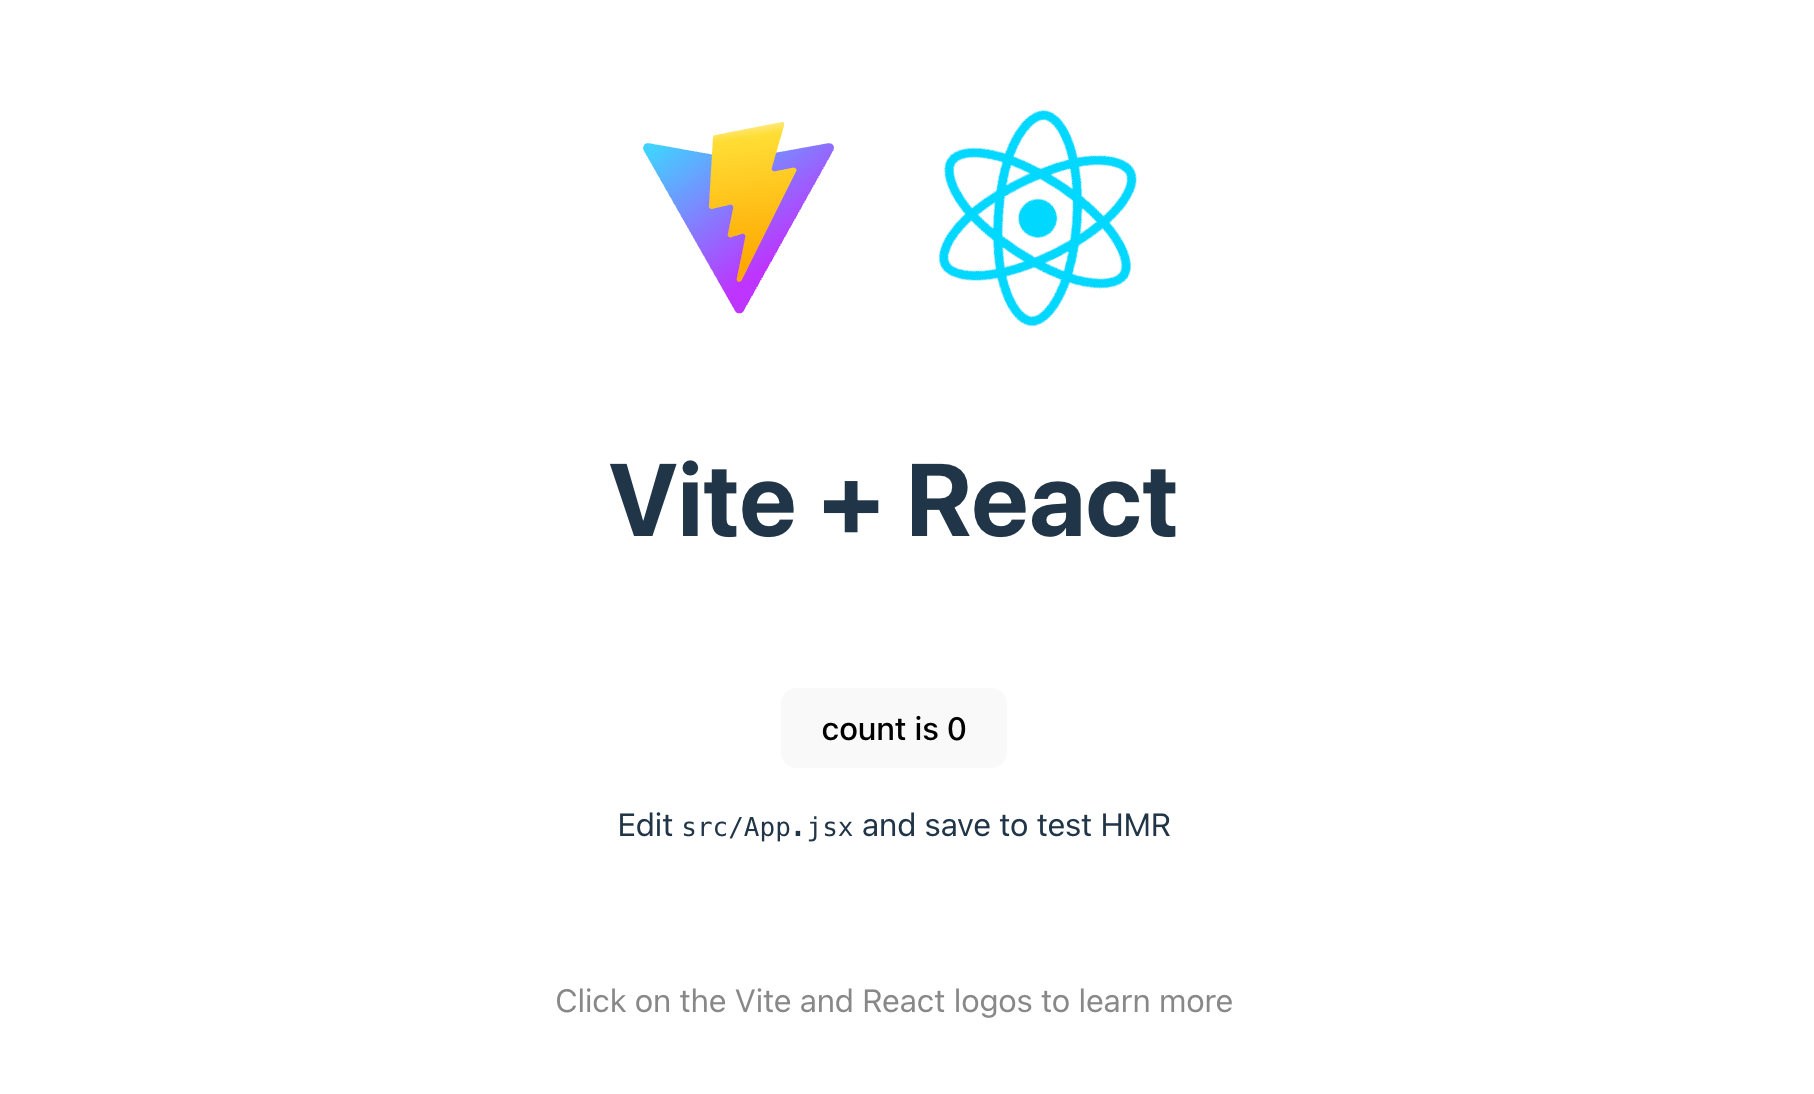
The default starting page of a Vite app
If you see the logos above, that's great! You now have a working React app that you can reuse throughout this tutorial series. This is also a good time to set up Git and push your code to GitHub. It's not required, but it's good practice, especially if you plan to collaborate with others.
**Create a .env file**
Next, we'll create a .env file so that we can securely store our Google Maps API key and Map ID (used for cloud based map styling). If you hardcode the key directly in your JSX and push it to GitHub, it's publicly visible and anyone can find and use it. Putting it in a `.env` file and adding `.env` to `.gitignore` means the key stays on your machine and never gets committed.
⚠️
Storing your API key in a `.env` file keeps it out of your code repository, but it will still be visible in the browser's source code at runtime. To protect it, [restrict the key](https://mapsplatform.google.com/resources/blog/google-maps-platform-best-practices-restricting-api-keys/?ref=blog.afi.io) to only the URLs you own.
In the root of your project directory, create a new file and name it `.env`. Add the following lines of code to it:
```
VITE_GOOGLE_MAPS_API_KEY=YOUR_API_KEY
VITE_GOOGLE_MAPS_MAP_ID=YOUR_MAP_ID
```
Replace the API key with the a valid Google Maps API key (get a [free demo key here](https://mapsplatform.google.com/maps-demo-key/?ref=blog.afi.io)).
**Install the React Google Maps library**
To use [@vis.gl/react-google-maps](https://visgl.github.io/react-google-maps/?ref=blog.afi.io), we first need to install it. In your project root run `npm install @vis.gl/react-google-maps`. This command downloads the @vis.gl/react-google-maps package and adds it to your project. Once this is done, you'll see it added to your `package.json` as a dependency (the actual package files can be found in your `/node_modules` folder).
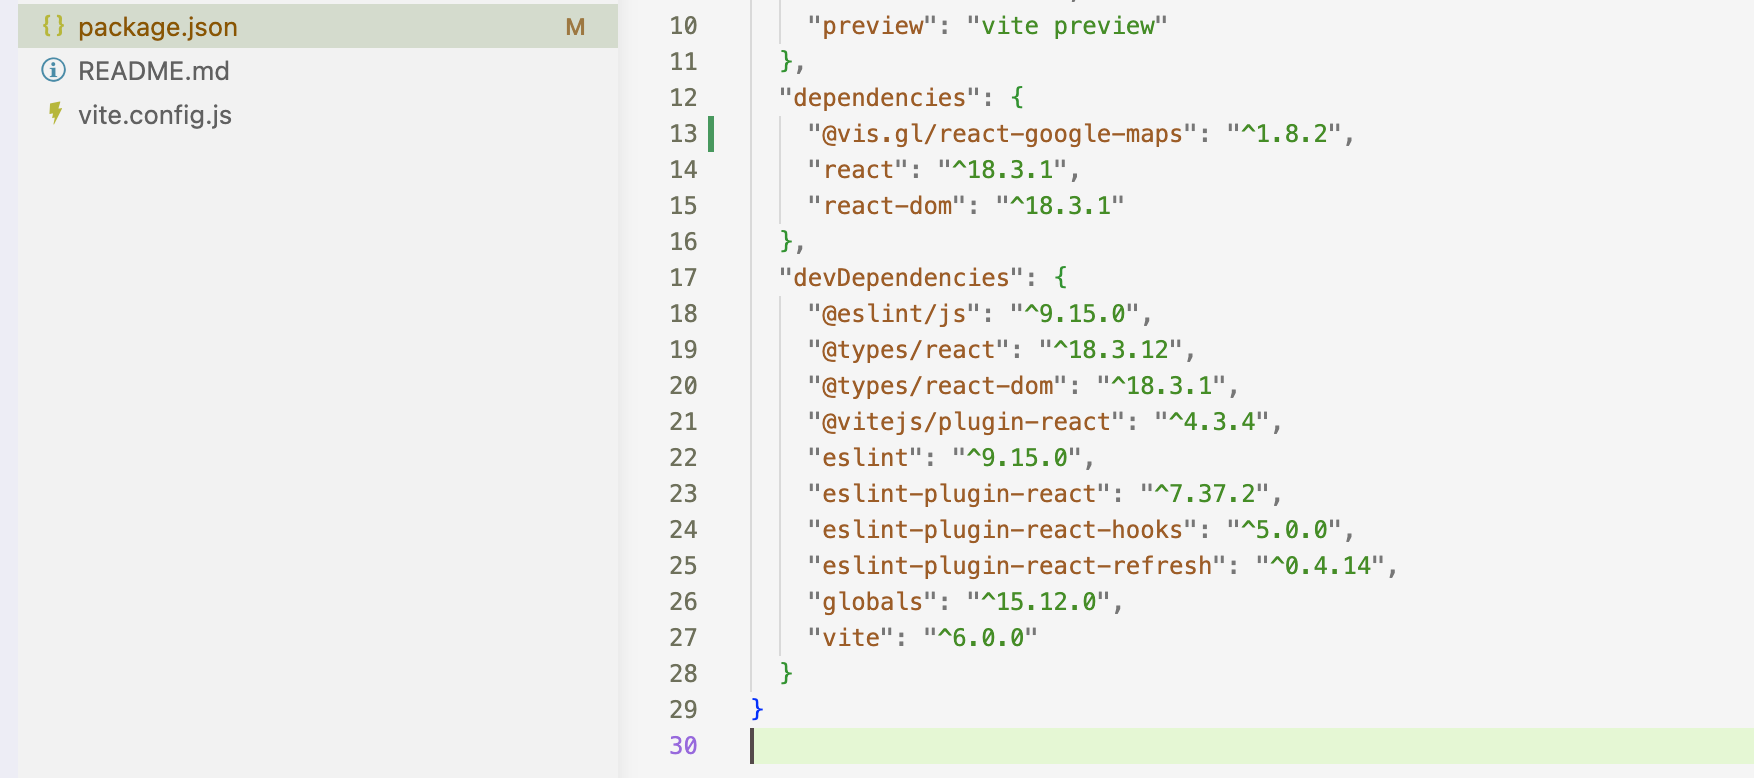
@vis.gl/react-google-maps being added to the package.json dependency list
**Add a Google Map to App.jsx**
`App.jsx` is the root component of our React app. It defines the overall layout and manages shared state. Since the goal of our app is much more modest (we simply want to display a Google Map), it's just the file where we'll put our map.
To load the Maps Javascript API with the React framework, we need to use the `` component that's part of [@vis.gl/react-google-maps](https://visgl.github.io/react-google-maps/?ref=blog.afi.io). First, add an import statement at the top of `App.jsx`.
```
import {APIProvider} from '@vis.gl/react-google-maps';
```
Next, add the `` component in the return statement of `App.jsx` (this returns the JSX that React will render as HTML in the browser).
```
return (
);
```
`import.meta.env.VITE_GOOGLE_MAPS_API_KEY` will make Vite pull the Google Maps API key from the `.env` file.
Third, add an import statement for the `` component at the start of `App.jsx`
```
import {Map} from '@vis.gl/react-google-maps';
```
and add the actual component code in between the `` tags.
```
;
```
Switch back to the command line and run `npm run dev`. If everything worked correctly, you should see a full screen Google Map centered on Vancouver, Canada.
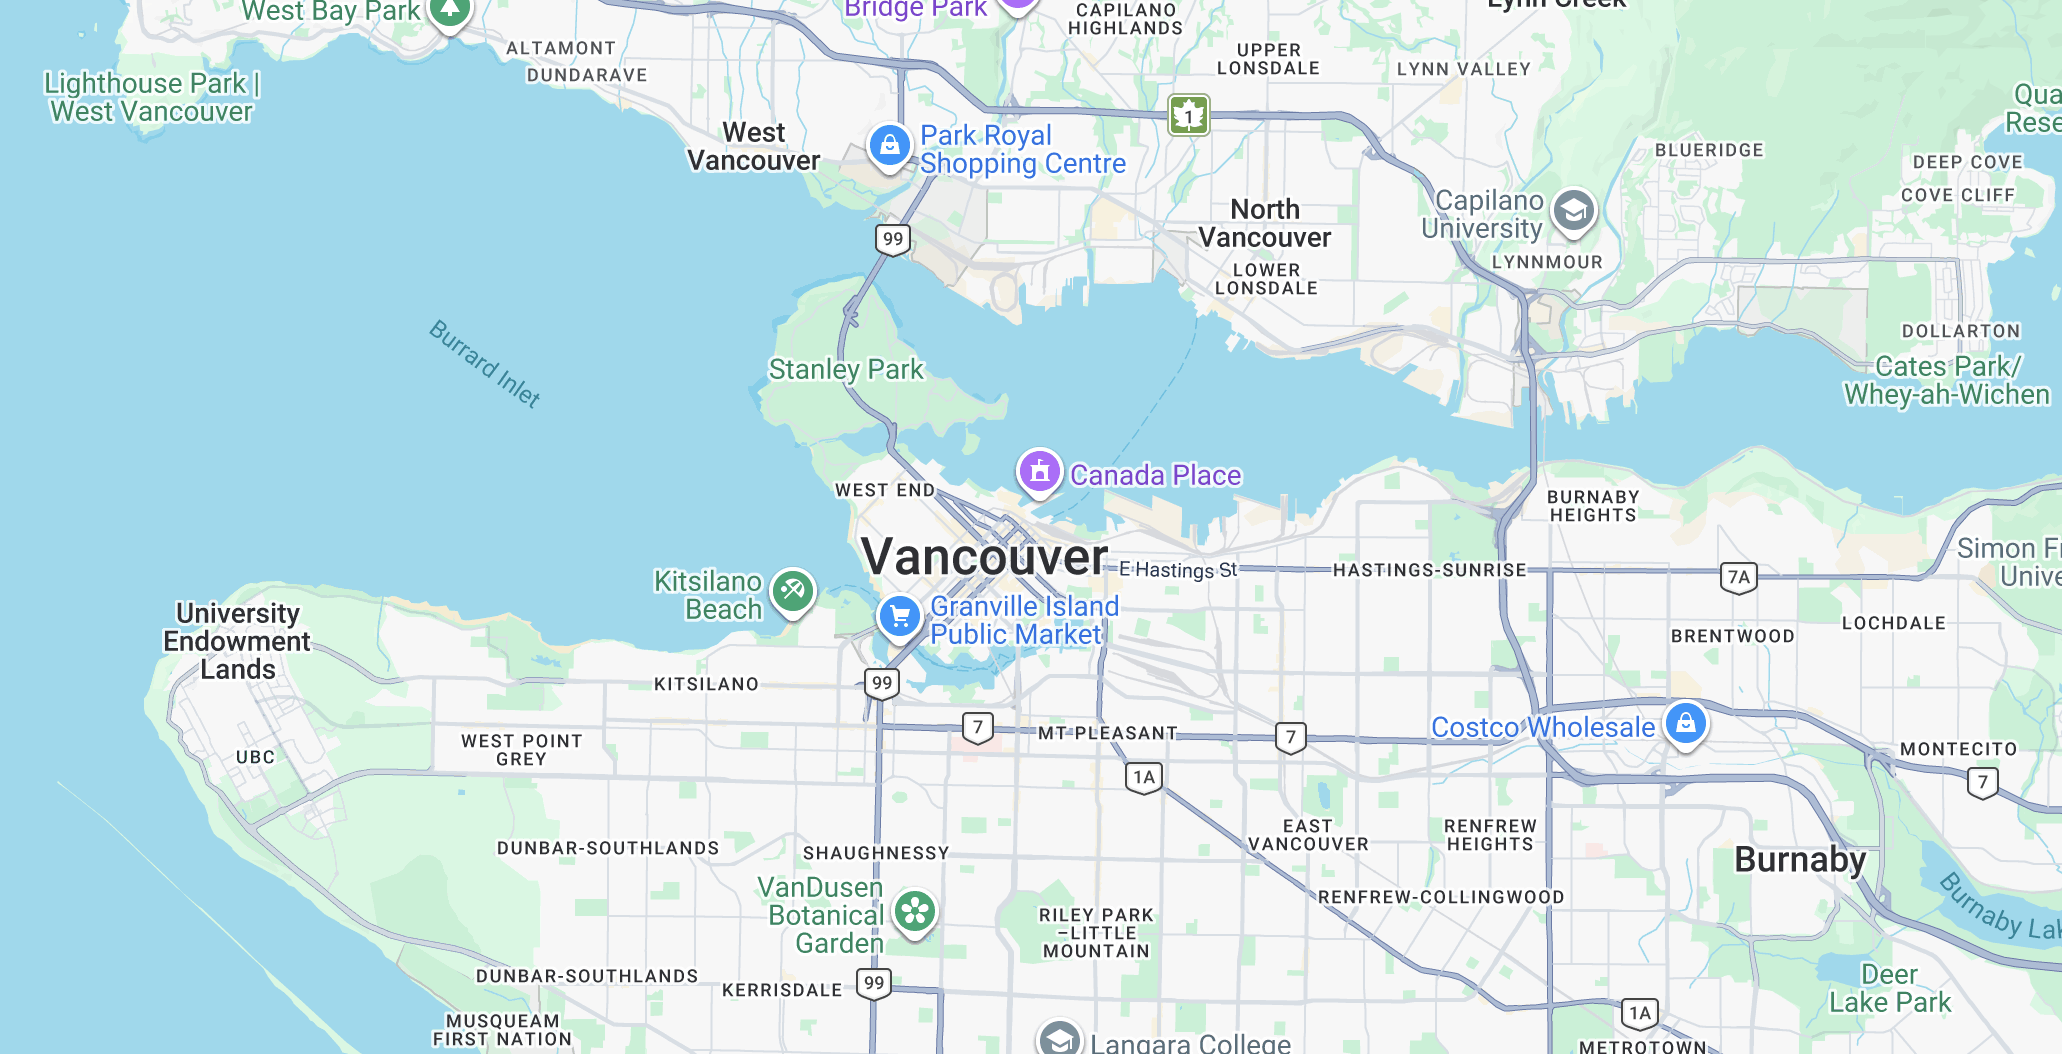
A simple Google Map (no styling) running on React
**Apply cloud based maps styles**
Next, let's use Google Maps new [cloud based maps styling](https://developers.google.com/maps/documentation/javascript/cloud-customization?ref=blog.afi.io) feature to customize our map.
1. Head to the Google Maps [Map Styles](https://console.cloud.google.com/google/maps-apis/studio/styles?ref=blog.afi.io) page of your Google Cloud Console.
2. Click \[+ Create Style\] and then select the JSON tab.
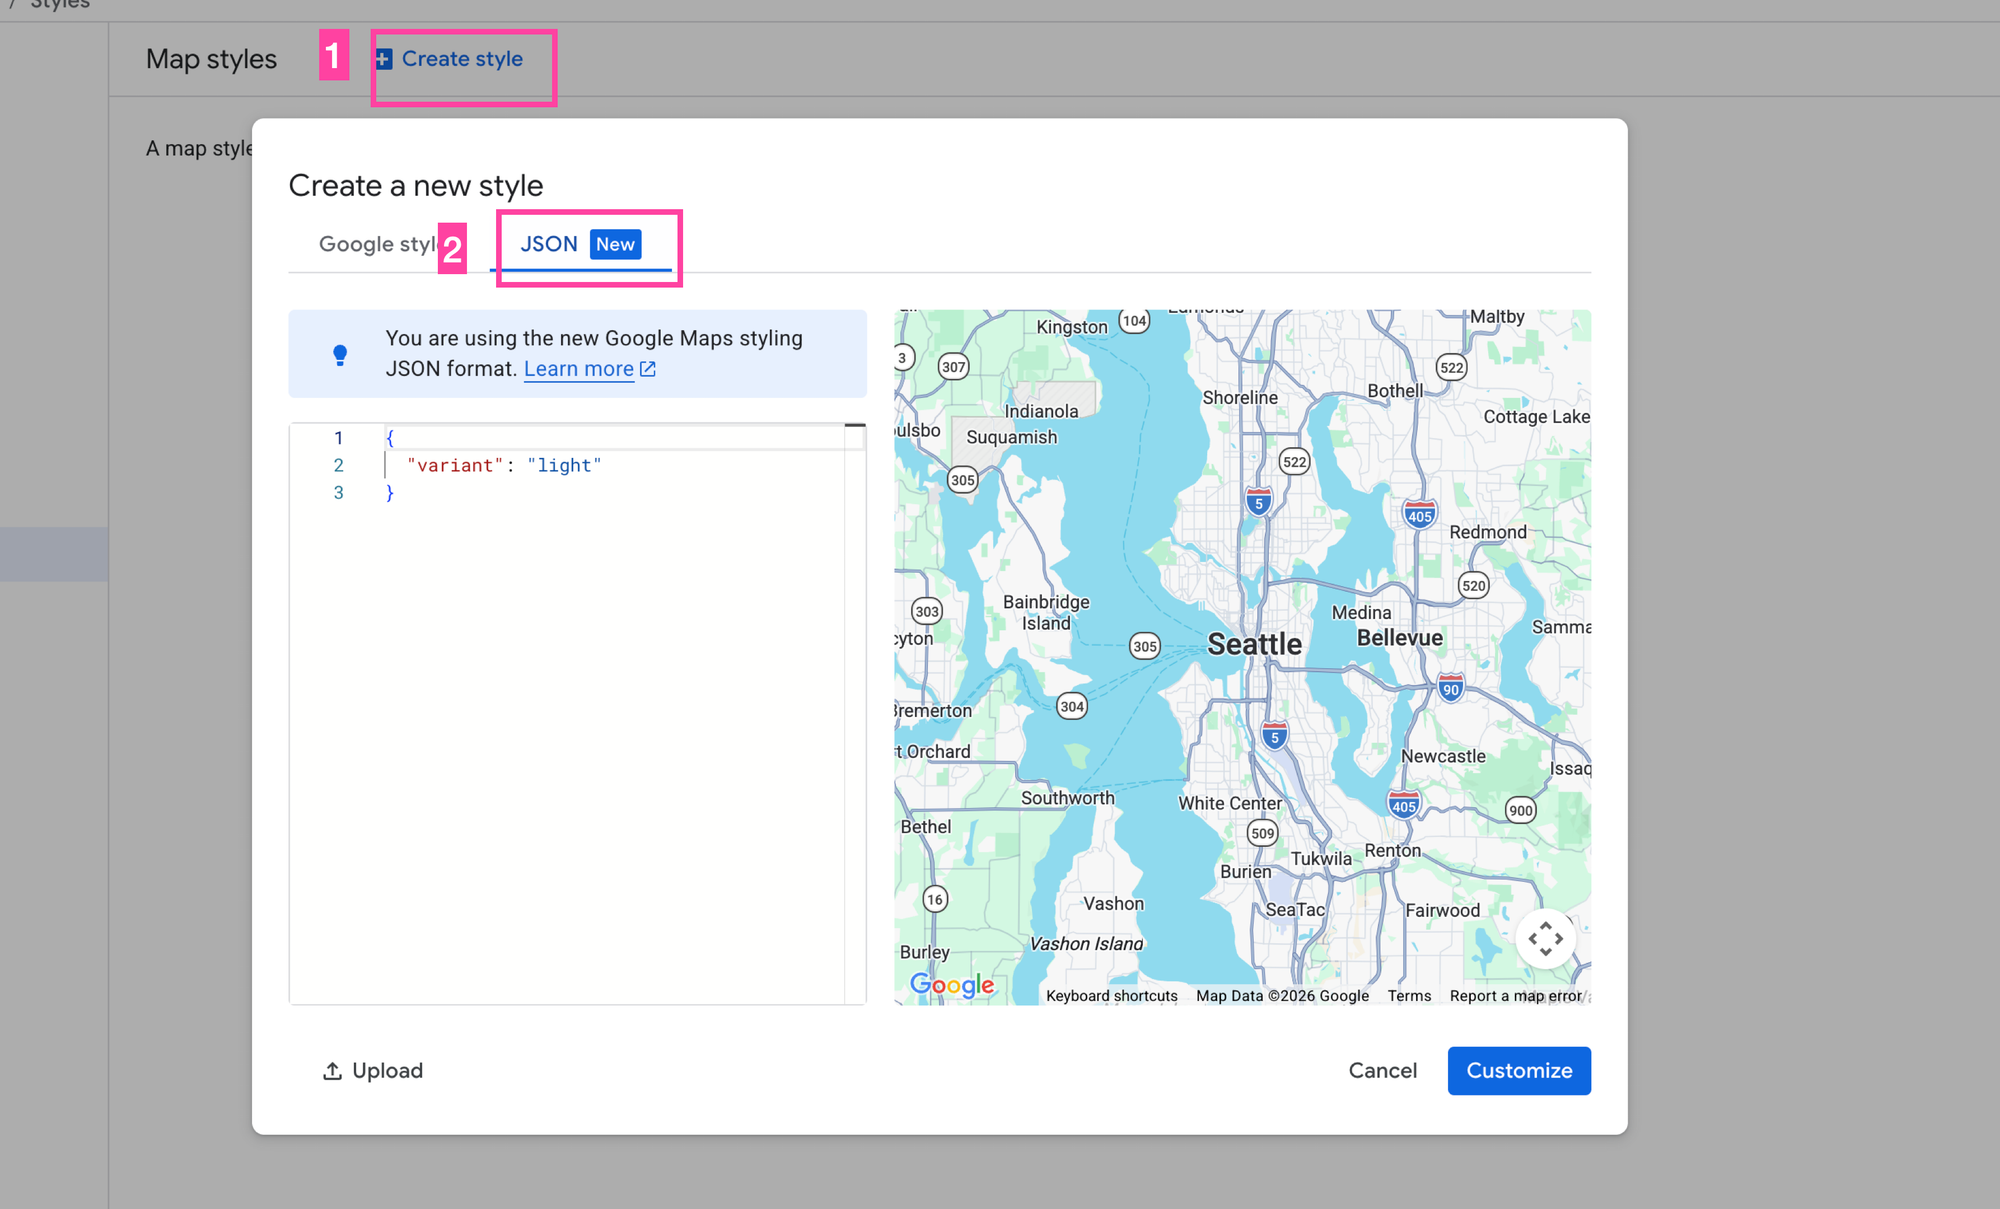
Creating a new style with the Cloud Based Maps Styling feature of Google Maps
1. Copy paste the following lime green / red style I've made for this example into the text box.
```
{
"variant": "light",
"styles": [
{
"id": "infrastructure.urbanArea",
"geometry": {
"visible": true,
"fillOpacity": 1,
"fillColor": "#f4f4f5"
}
},
{
"id": "natural.land.landCover.dryCrops",
"geometry": {
"fillOpacity": 1,
"fillColor": "#edffd8"
}
},
{
"id": "natural.land.landCover.forest",
"geometry": {
"fillOpacity": 1,
"fillColor": "#edffd8"
}
},
{
"id": "natural.land.landCover.shrub",
"geometry": {
"fillOpacity": 1,
"fillColor": "#dea9a6"
}
},
{
"id": "natural.water",
"geometry": {
"fillOpacity": 1,
"fillColor": "#9ab9be"
}
},
{
"id": "pointOfInterest.recreation.golfCourse",
"geometry": {
"fillOpacity": 1,
"fillColor": "#dea9a6"
}
},
{
"id": "pointOfInterest.recreation.natureReserve",
"geometry": {
"fillOpacity": 1,
"fillColor": "#edf1d5"
}
},
{
"id": "pointOfInterest.recreation.park",
"geometry": {
"fillOpacity": 1,
"fillColor": "#edffd8"
}
}
]
}
```
1. Once that's done, you should see the new style applied to the map on the right. Hit \[Customize\].
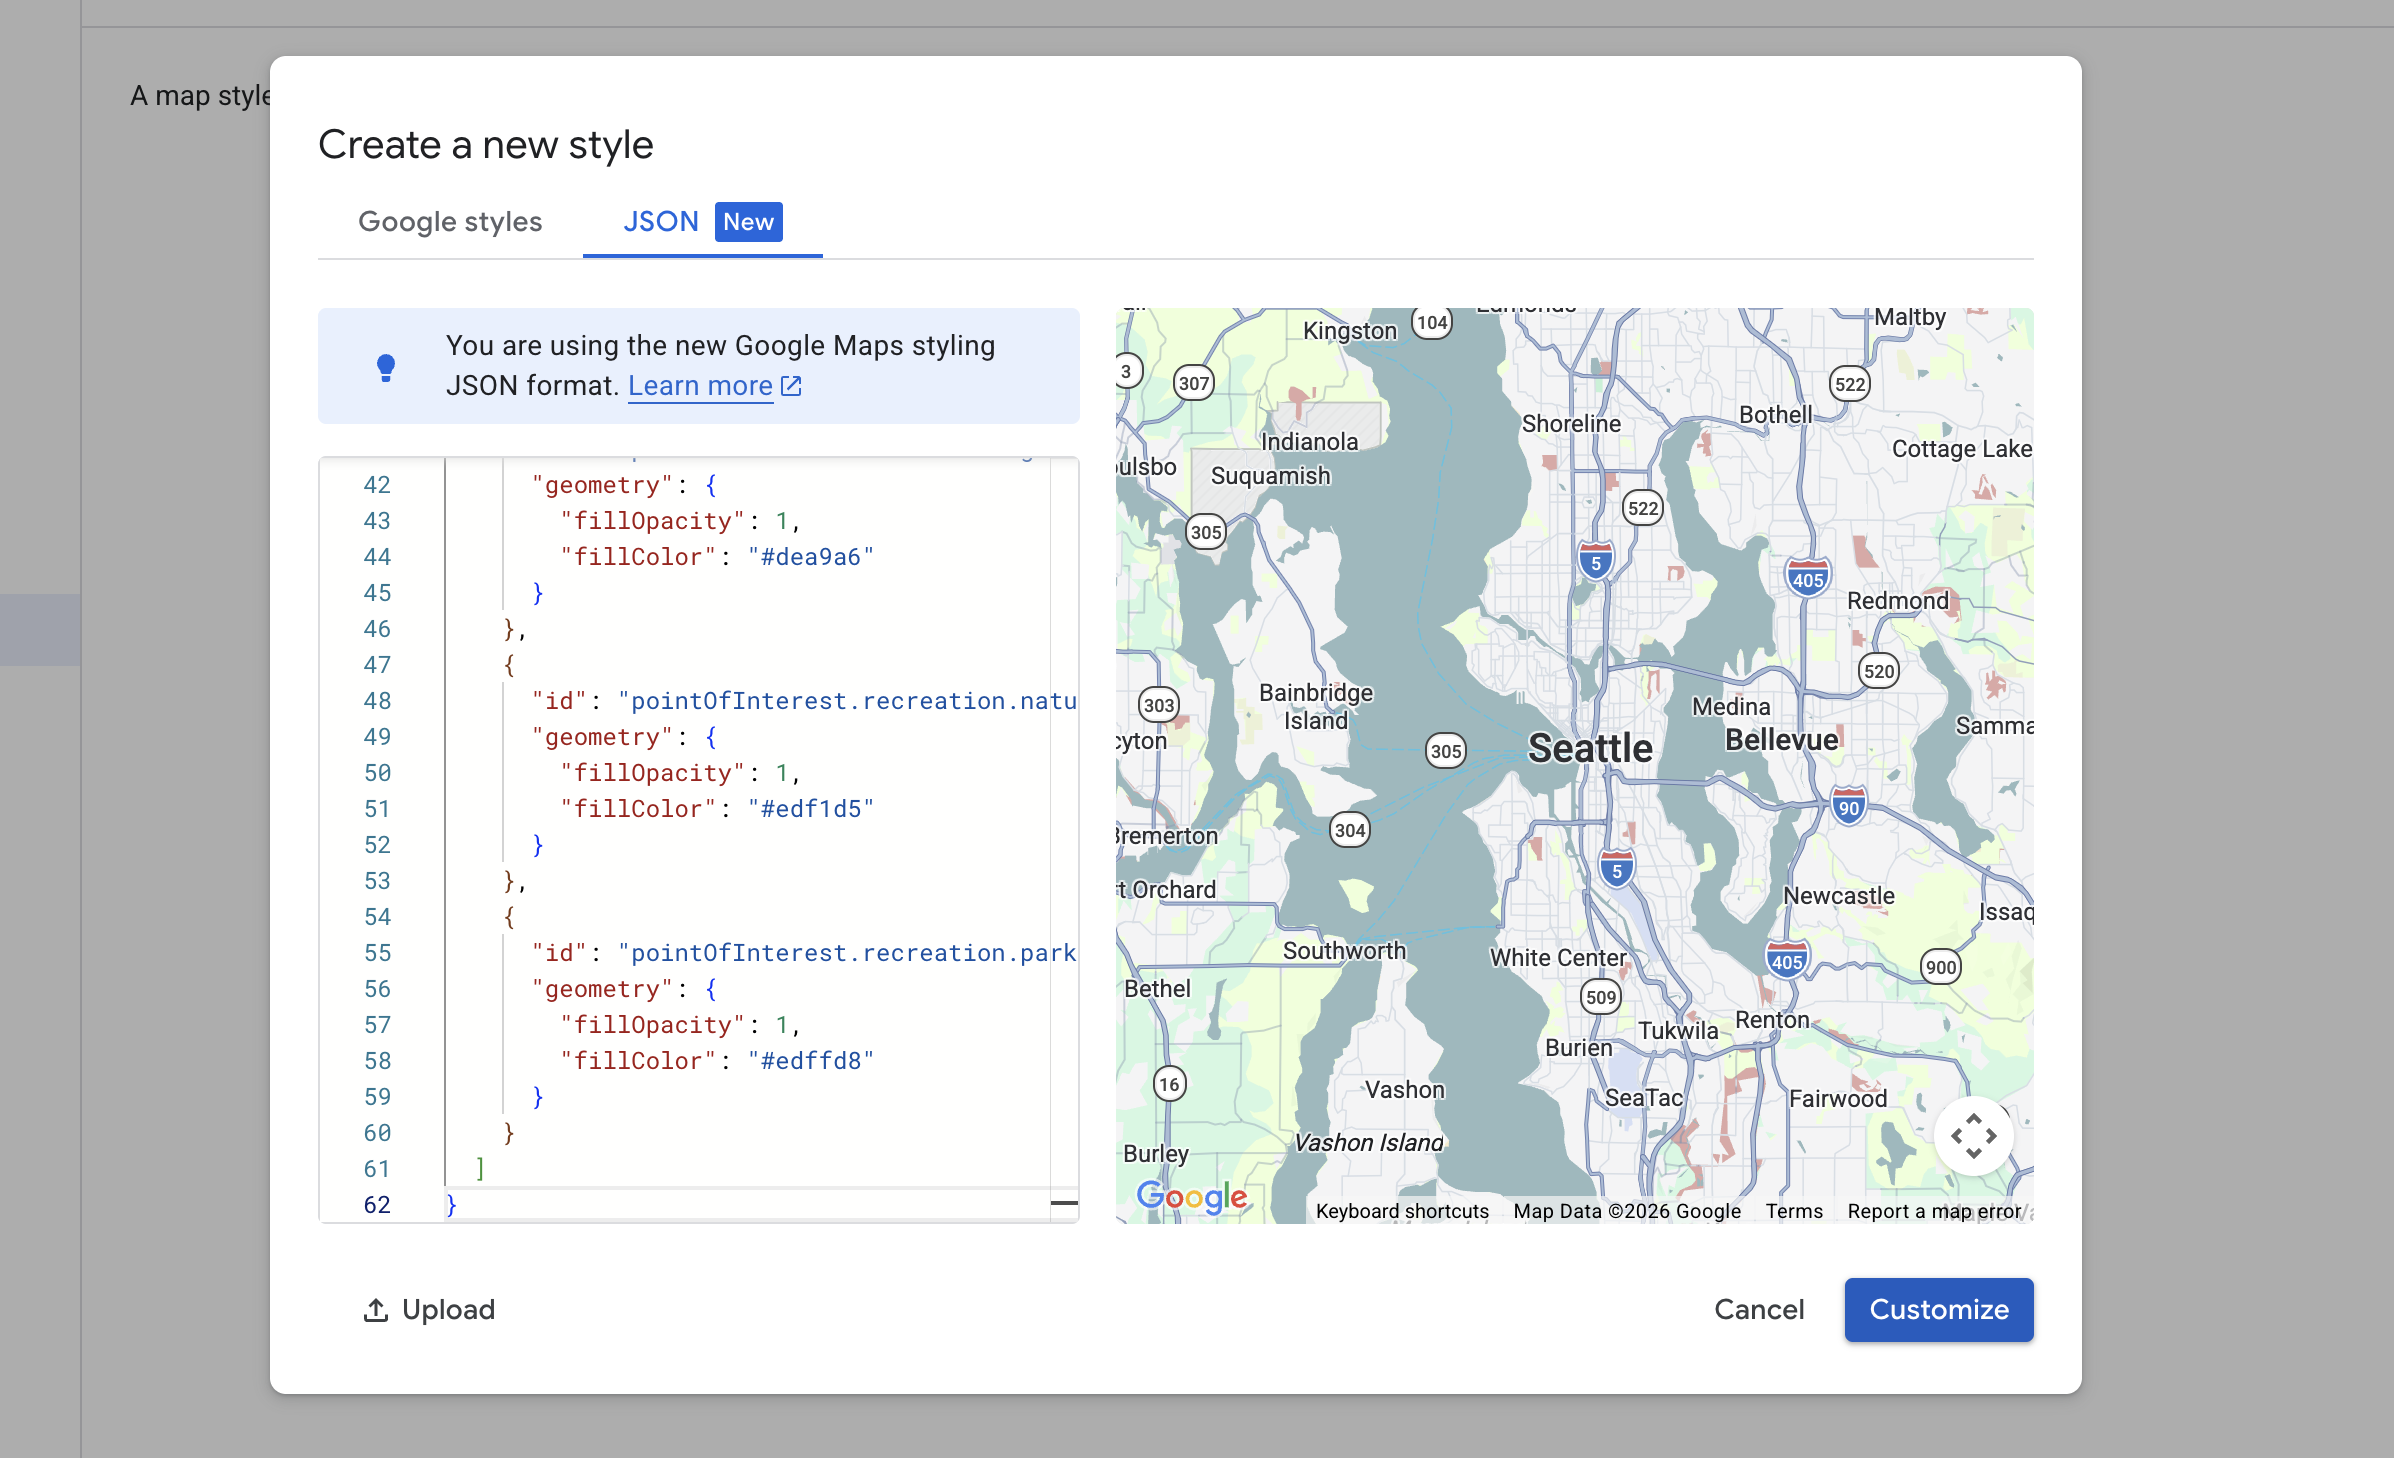
New style being applied to the map
1. Once the style is saved, look for the \[Quick Create\] button and press it. This will generate a Map ID.
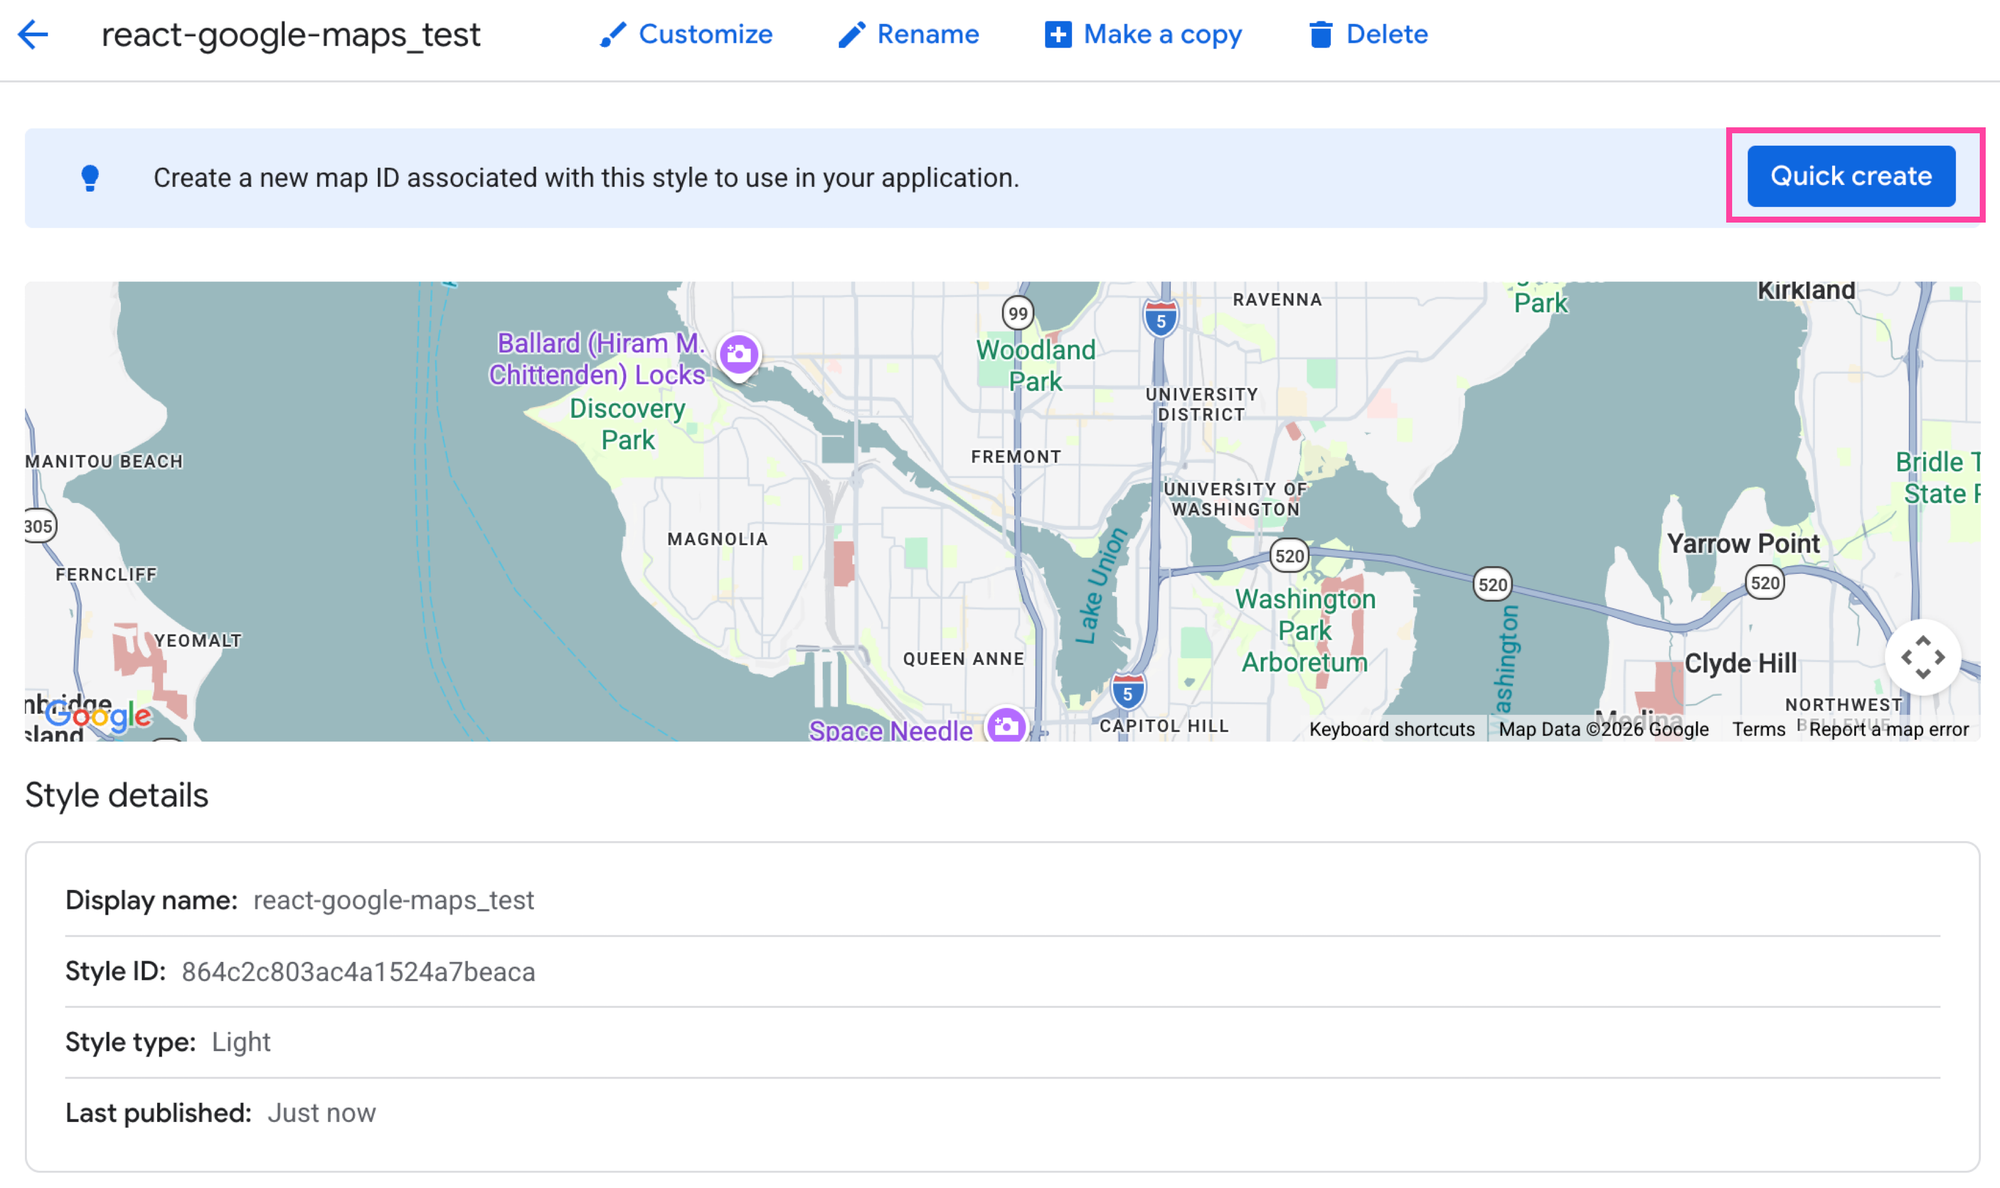
Once the style is created, create your Map ID
1. **CLICK \[SAVE\]**. Copy the Map ID and save it to the `VITE_GOOGLE_MAPS_MAP_ID` field in the `.env` file from earlier.
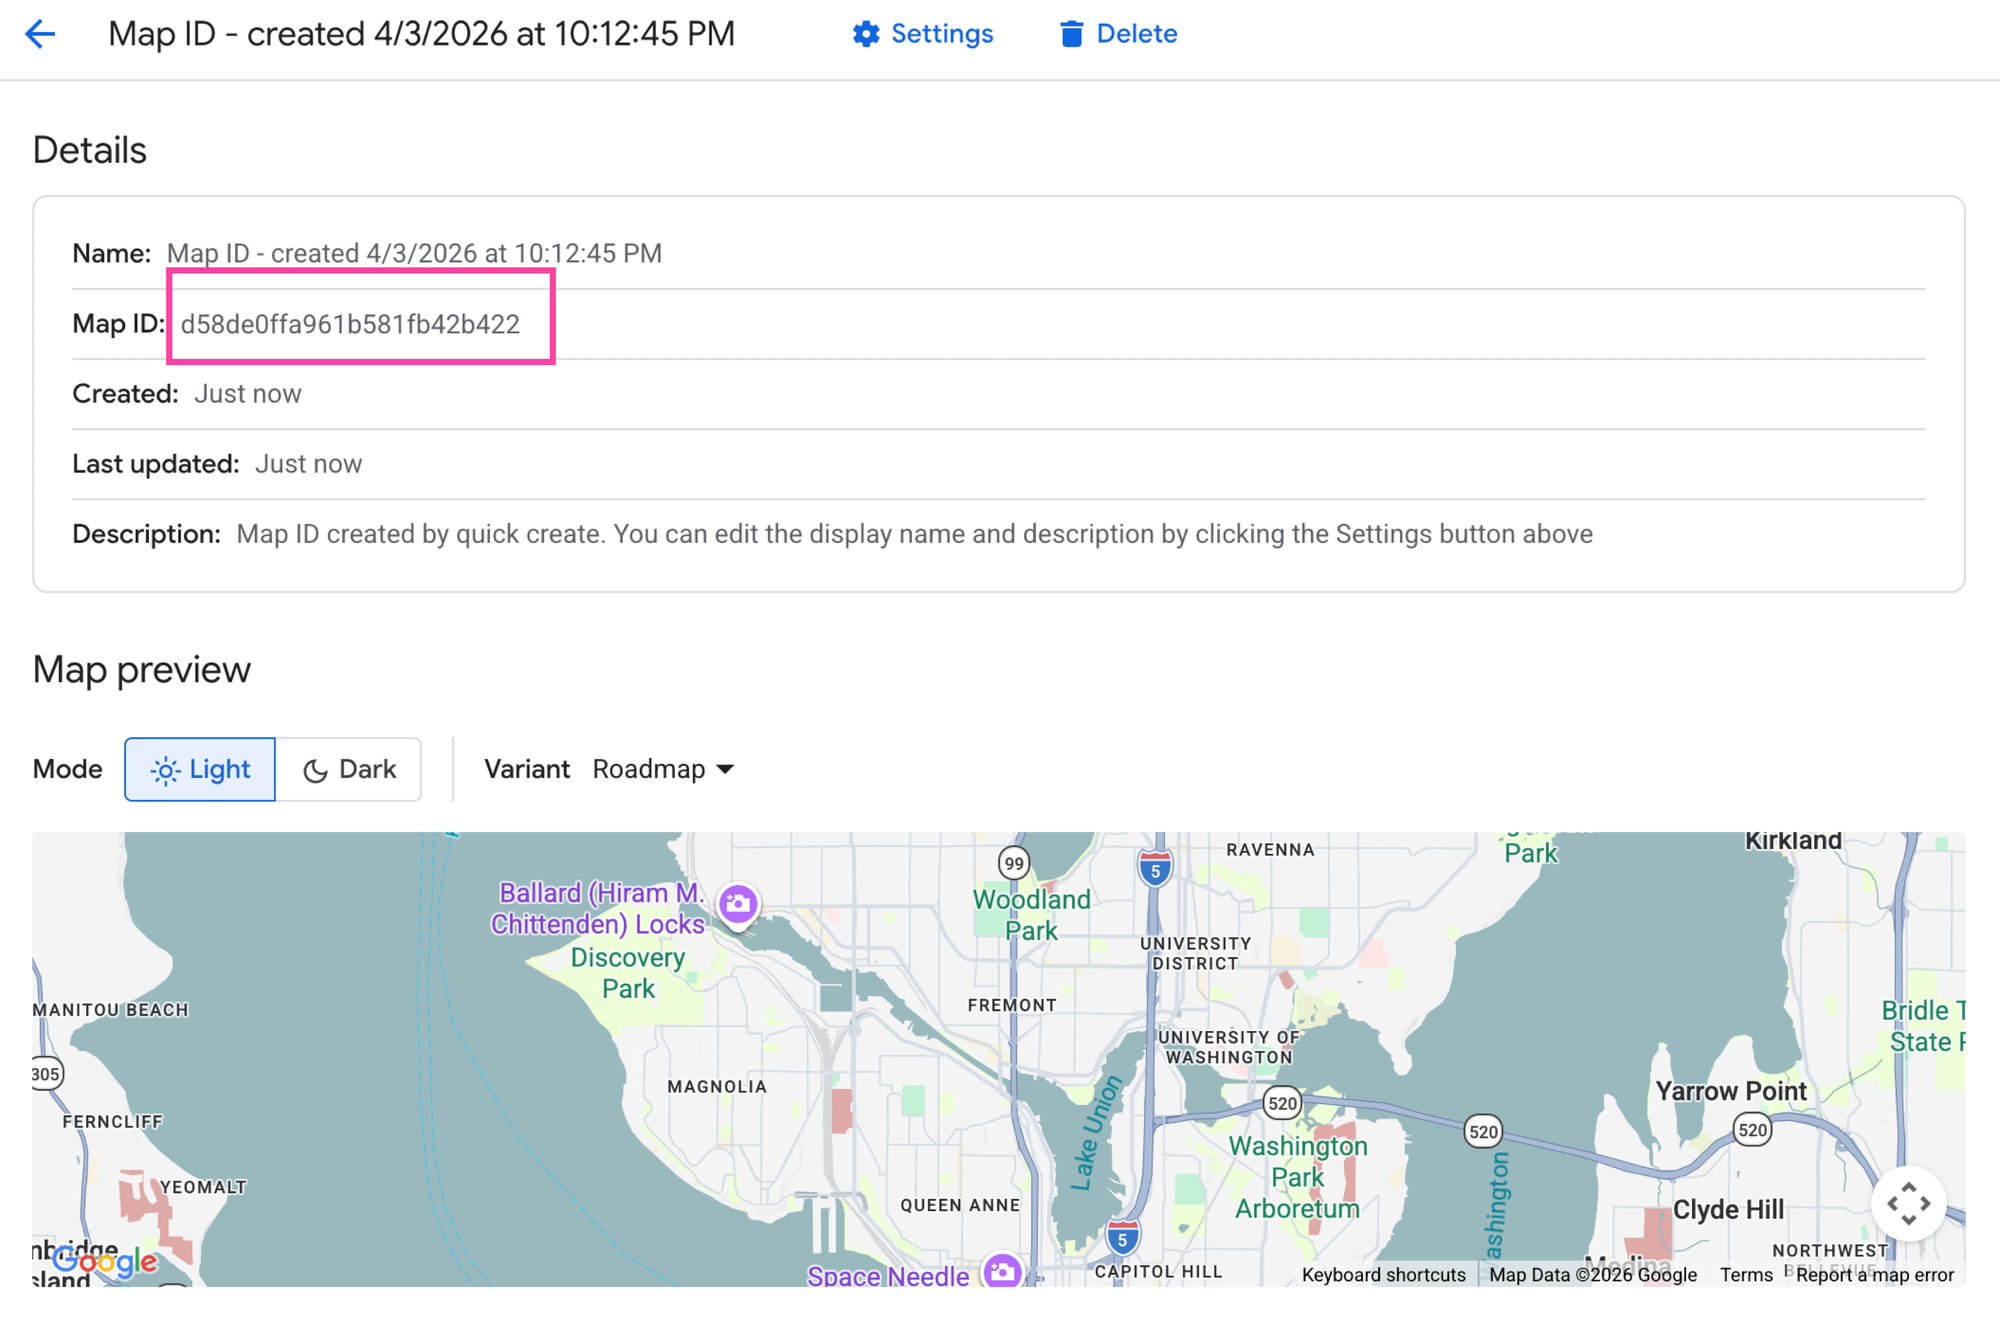
Copy the Map ID and paste it into the .env file
1. Add the `mapId` prop to the `` component like so:
```
;
```
Restart your app and you should see the new style applied to your map.
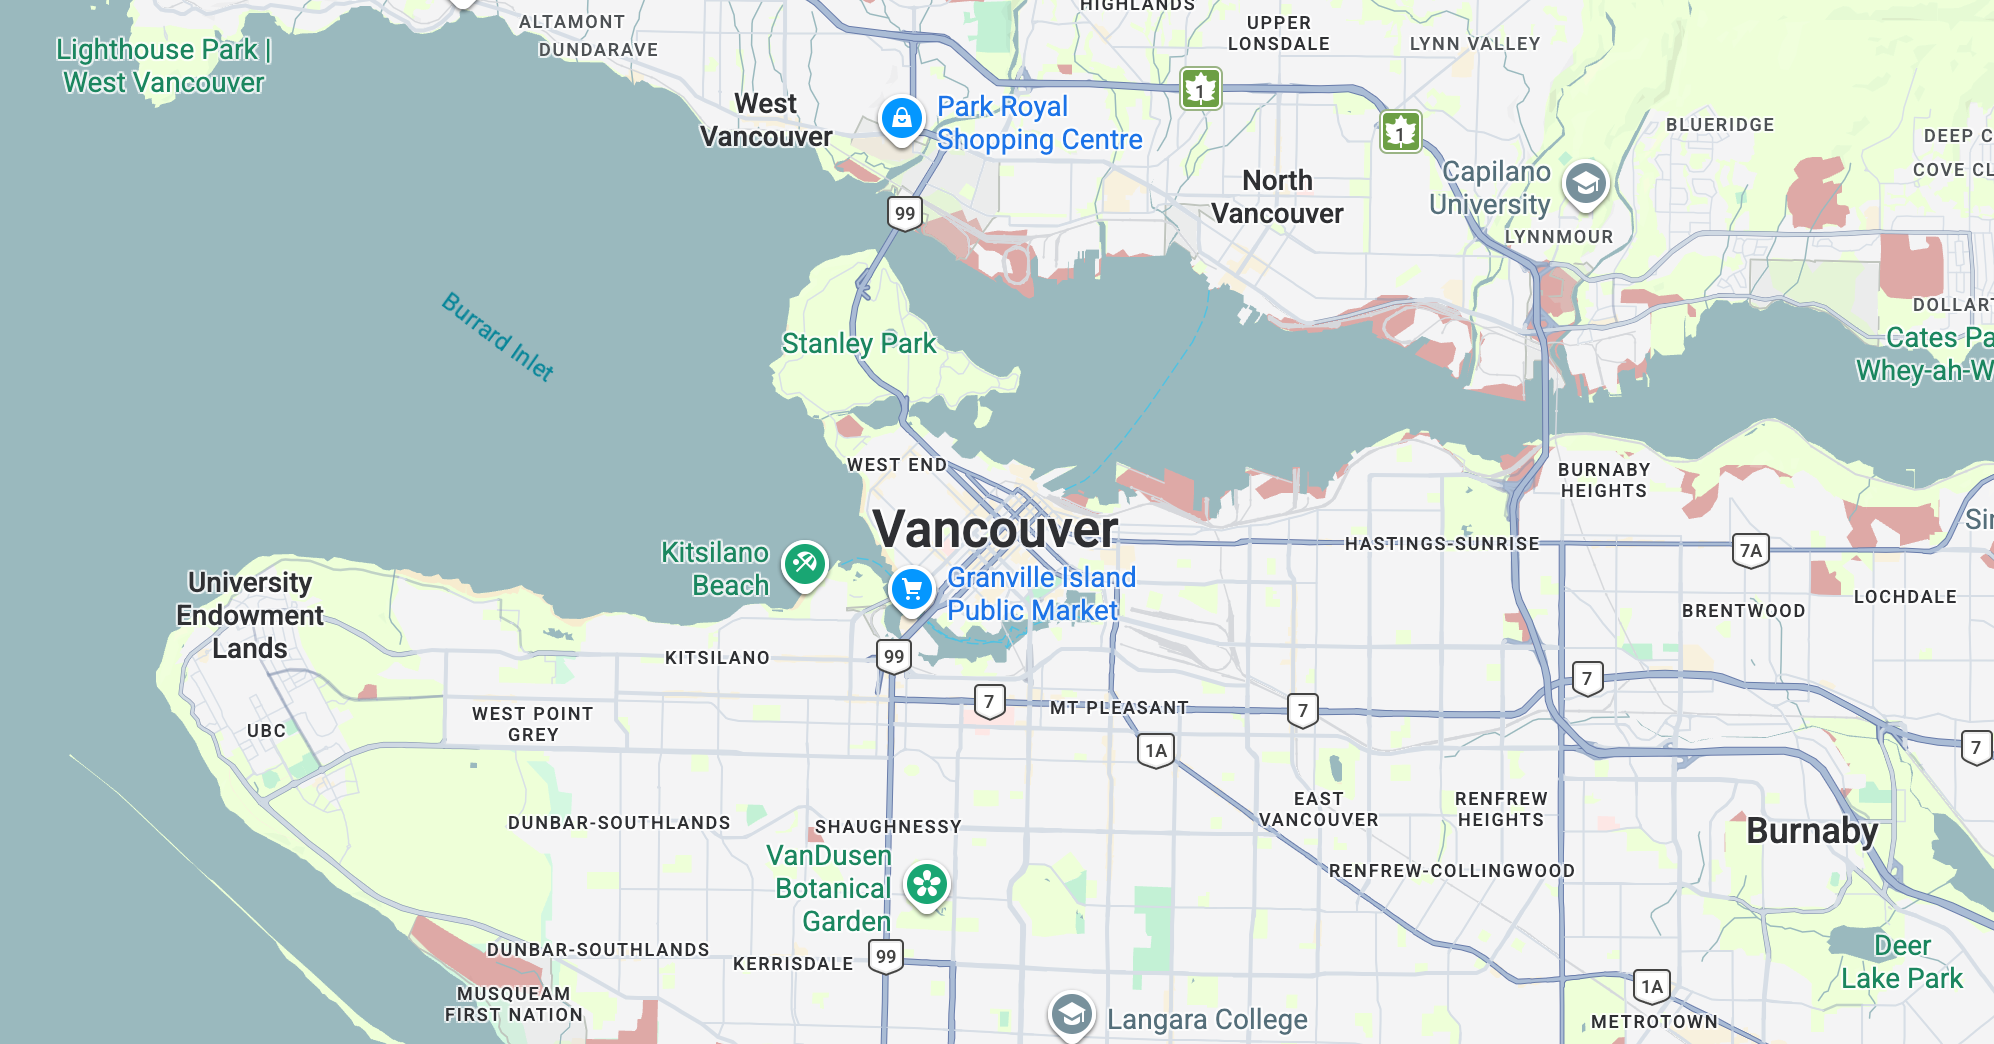
The new style applied to the Google Map in React
If you missed a step or just want to see the finished product, clone the [react\_google\_maps\_demo](https://github.com/afilabs/react%5Fgoogle%5Fmaps%5Fdemo?ref=blog.afi.io) repository or copy and paste the `App.jsx` code from the GitHub repository directly.
### Coming up next
And that's a wrap for this first tutorial on adding a Google Map in React. Our next blog post will build on this by showing you how to [add map markers and info windows](https://blog.afi.io/blog/work-with-google-maps-react-map-markers-and-info-windows/) to your map.
**This article was written by** [**Afi Labs**](https://afi.io/?ref=blog.afi.io)**, a** [**Google Maps Premier Partner**](https://www.afi.io/?ref=blog.afi.io) **and reseller. We build route optimization, navigation, and fleet tracking software on Google Maps, and offer volume pricing on GMP licensing.** [**Talk to an engineer**](https://www.afi.io/contact%5Fus?ref=blog.afi.io) **or** [**follow Afian on LinkedIn**](https://www.linkedin.com/in/afian-anwar/?ref=blog.afi.io)**.**
Next: [Part 3: Work with Google Maps React map markers and info windows](https://blog.afi.io/blog/work-with-google-maps-react-map-markers-and-info-windows/)