Driver live tracking on Swift with iOS geolocation
A guide to adding Swift live tracking to your driver app using iOS geolocation features.


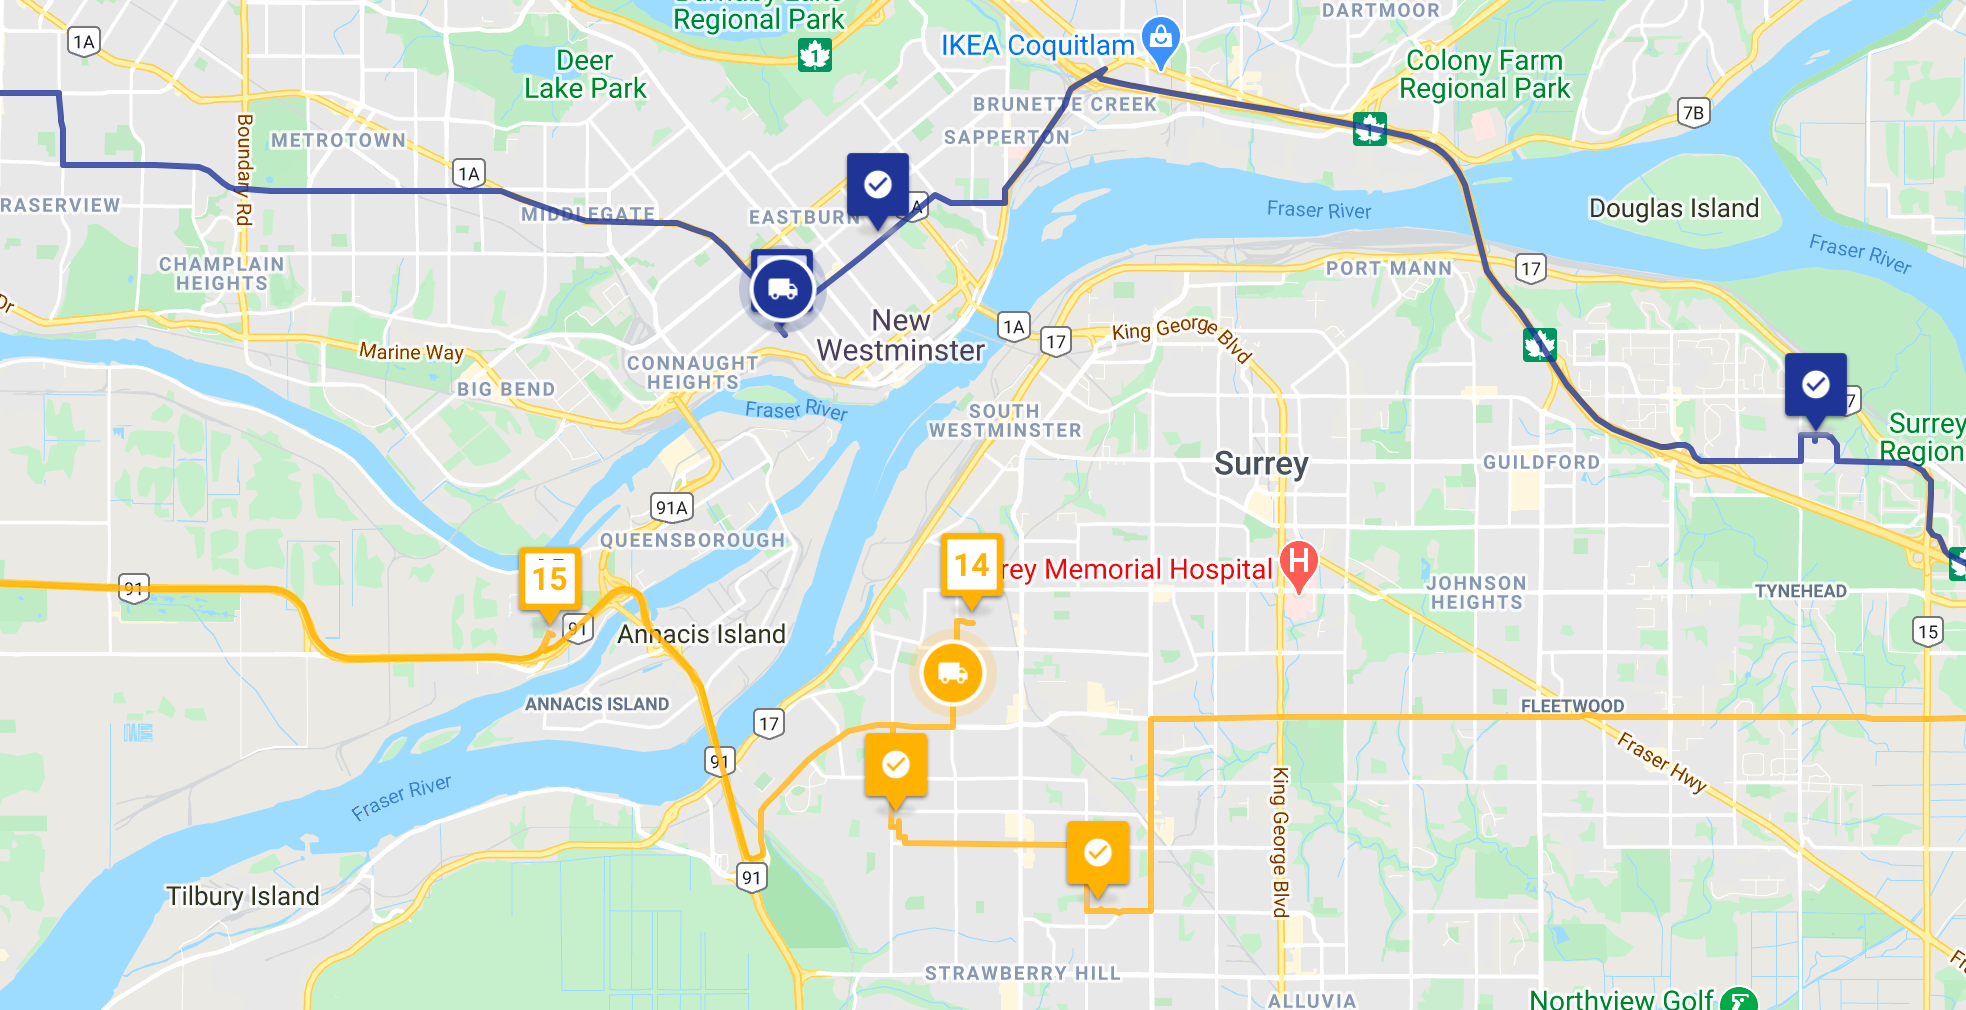
If your drivers are busy delivering packages to customers (i.e. you are doing something right), one of the most basic things you'd want to know is where your drivers are right now, without having to give them a call. This might be because you want them to do a last minute pickup, or accurately tell your customers when their package will arrive.
In this blog post, I'll walk you through a simple worked example (with sample code) of an iOS app written in Swift that uses iOS's geolocation APIs to retrieve GPS coordinates on your phone, saves and updates your location in a database, and lets you view it on an online map on a separate website. Working knowledge of Swift and JavaScript is assumed.
Part 1: Driver live tracking on Swift with iOS geolocation (this article)
Part 2: Building a live driver tracking backend
Part 3: Adding a live driver tracking map to your website
How this code is organized
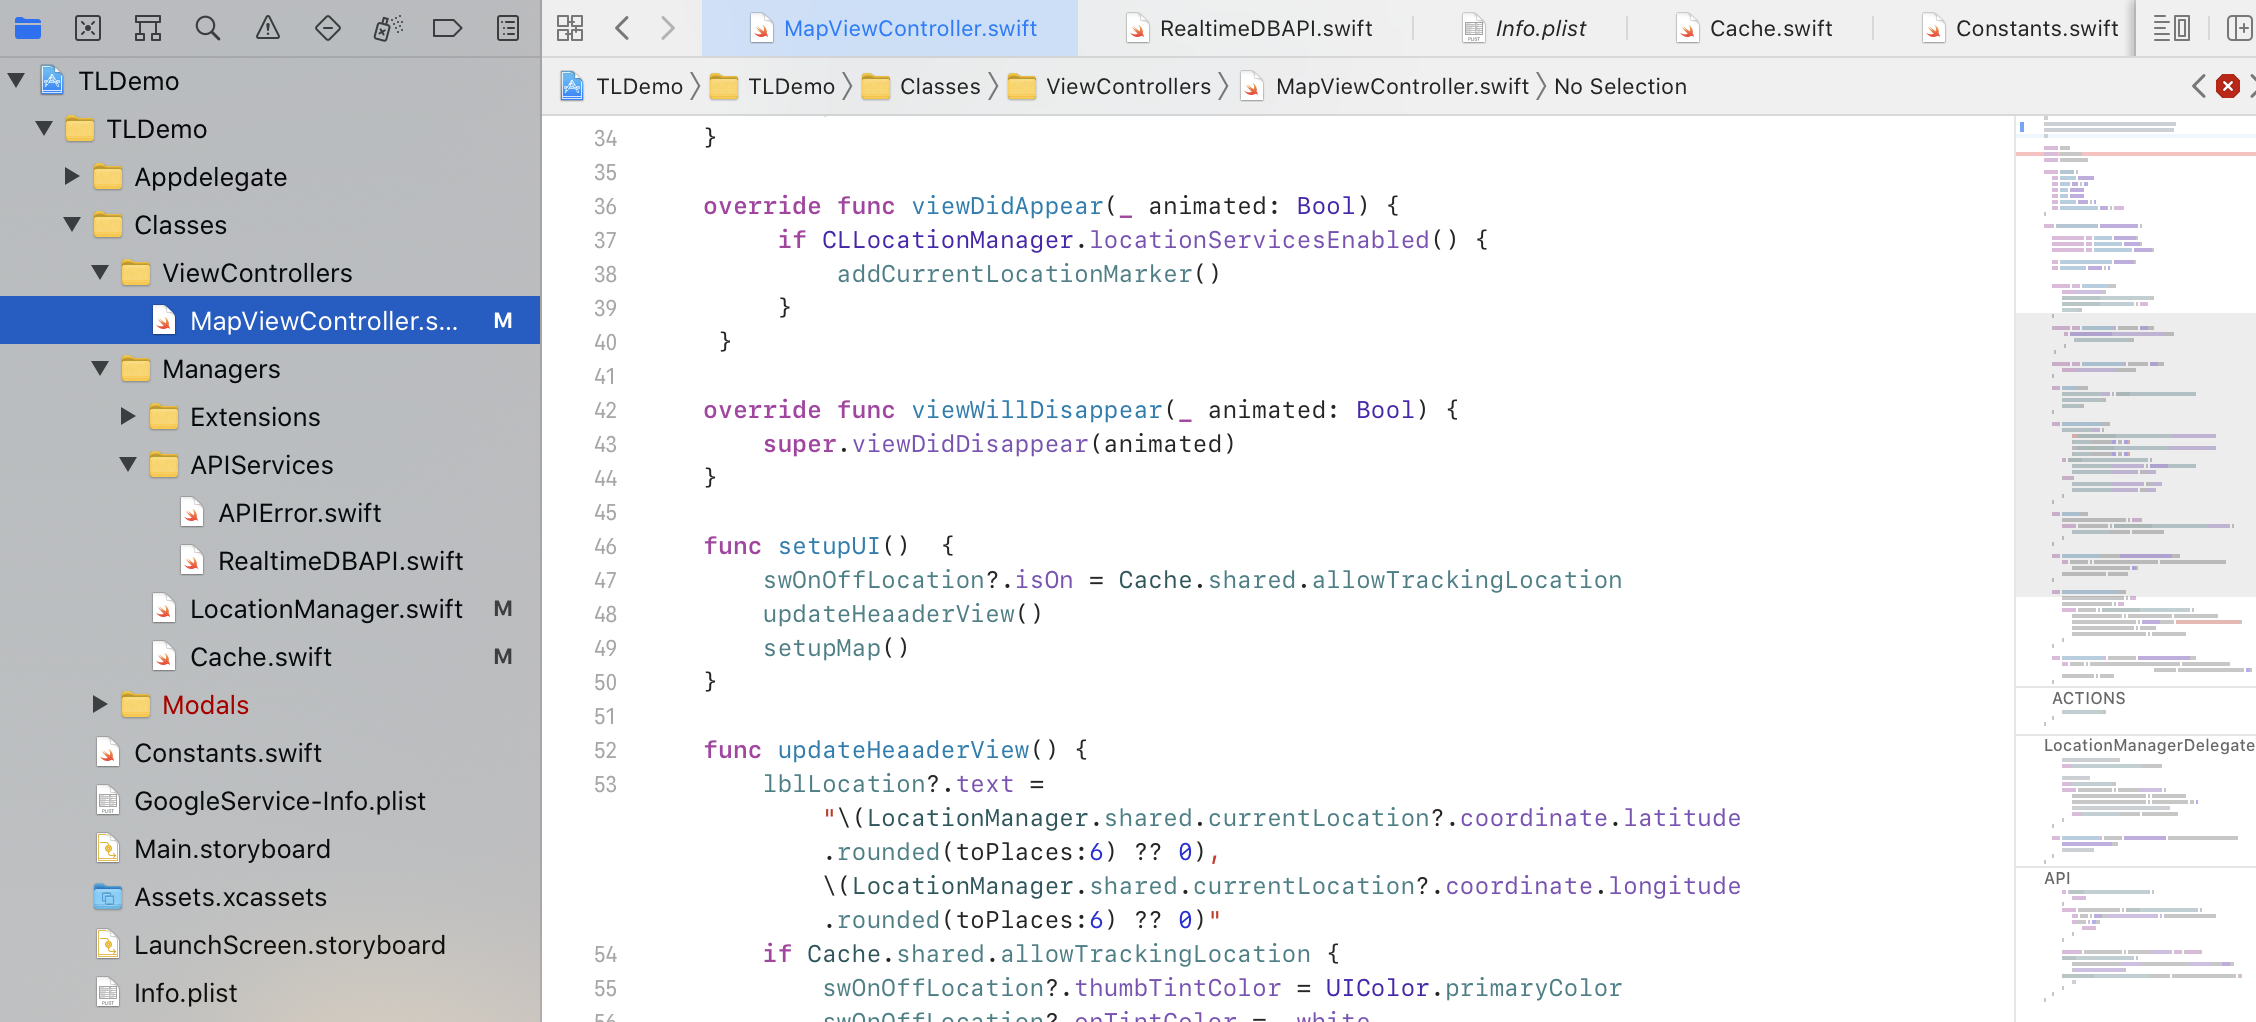
There are two main components to the app. Location tracking is handled in Classes/Managers/LocationManager.swift while the main screen displaying your location and web service that updates the database is in Classes/Viewcontrollers/MainViewController.swift. To get started, clone the gps_tracking_app project from my Github repository here and open TLDemo.xcodeproj in Xcode. All the code is available under a permissive MIT license here and you are free to use it in part or in whole for your own projects.
How live tracking and iOS geolocation works
There are two ways to track your location - foreground tracking and background tracking. Background tracking with the Standard Location Service is what we are using because it still tracks the driver's location even when the app is minimized (but not closed), which could happen if the driver needs to take a phone call or switch to the Google Maps app for turn by turn navigation. Tracking your location is as easy as initializing a CLLocationManager object and call its startUpdatingLocation() method.
LocationManager.swift and CLLocationManager / CLLocationManagerDelegate
Using the singleton design pattern, LocationManager (along with its delegates) is initialized as a static global variable that can be accessed anywhere in the app with the line static let shared = LocationManager().
LocationManager is set with a distanceFilter (the minimum distance measured in meters a device must move horizontally before an update event is generated) parameter, set to 20 so we only deliver location updates when the user has spent time in one location and then moves on e.g. when we are more than 20 meters away from our previously recorded location. Updating the location this way reduces battery usage considerably.
override init() {
  super.init()
  locManager.allowsBackgroundLocationUpdates = true
  locManager.distanceFilter = 20;
  locManager.pausesLocationUpdatesAutomatically = false
  locManager.delegate = self
}
Most of the action in LocationManager.swift happens in the requestLocation() function.
func requestLocation() {
  if #available(iOS 14.0, *) {
    if (locManager.authorizationStatus == .notDetermined) {
      locManager.requestAlwaysAuthorization()
      locManager.startUpdatingLocation()
    } else if (locManager.authorizationStatus == .denied) {
      //
    } else {
      locManager.startUpdatingLocation()
    }
  } else {
    // Fallback on earlier versions
    if CLLocationManager.authorizationStatus() == .notDetermined {
      locManager.requestAlwaysAuthorization()
      locManager.startUpdatingLocation()

    } else if (CLLocationManager.authorizationStatus() == .denied) {
      //
    } else {
      locManager.startUpdatingLocation()
    }
  }
}
Let's break this down step by step to see what's going on.
if (locManager.authorizationStatus == .notDetermined) {
  locManager.requestAlwaysAuthorization()
  locManager.startUpdatingLocation()
}
This piece of code checks that you have given the app access to the phone's location data and lets Swift get the current location of your phone. If you have not, it will launch a pop up notification requesting access and immediately update your location.
else if (locManager.authorizationStatus == .denied) {
  //
}
If you have explicitly denied access, do nothing. In a production app you'd probably want to add a prompt to let the user open the settings app and choose the option to let the app always have access to your phone's location data. An easy way to do this is by using a method like UIApplication.shared.open(URL(string: UIApplication.openSettingsURLString).
Getting the current location in Swift
Otherwise (if authorization to use the phone's GPS is successful), start tracking the phone's location.
else {
  locManager.startUpdatingLocation()
}
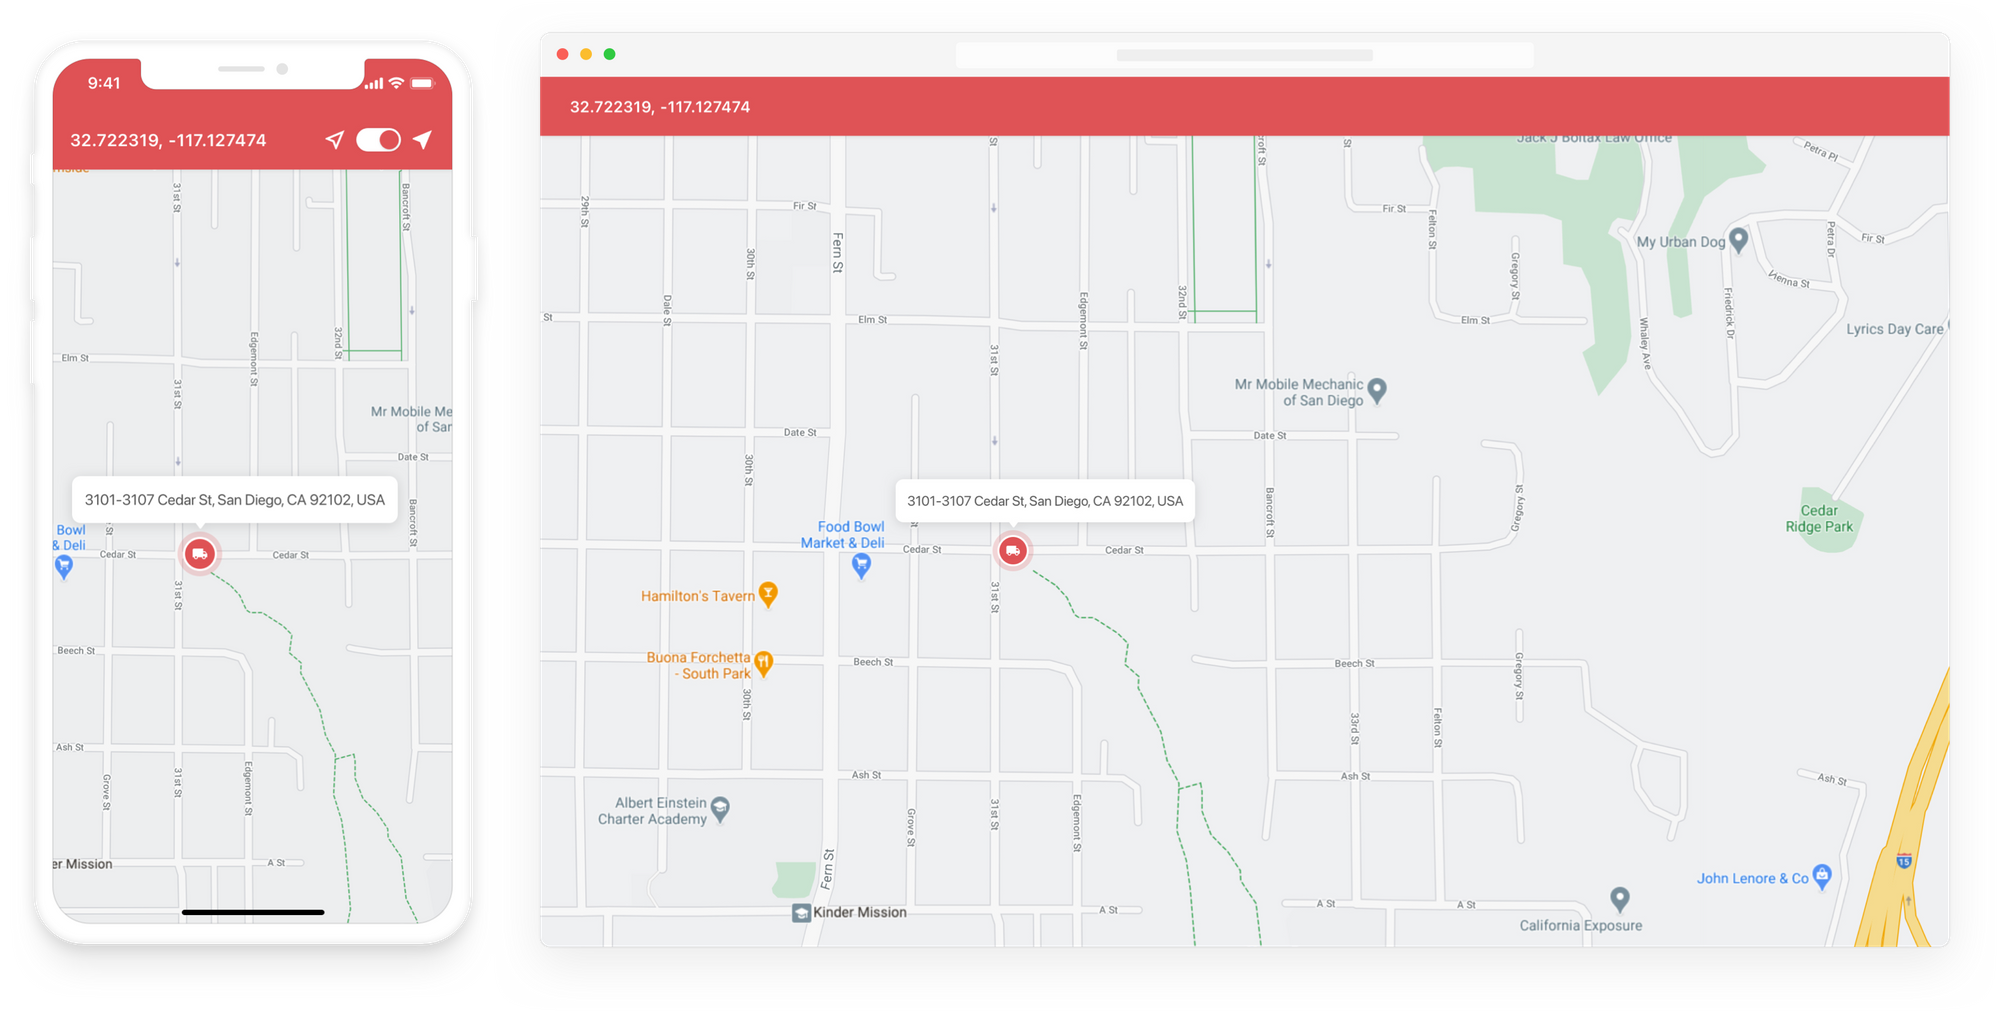
Calling the startUpdatingLocation() method causes the location manager to tap on iOS's geolocation APIs and obtain an initial location fix (which may take several seconds) and notify its delegate by calling its locationManager(_:didUpdateLocations:) method. In our case, the delegate is MapViewController.swift.
MapViewController.swift
In the didUpdateLocation() method of MapViewController.swift we see:
func didUpdateLocation(_ location: CLLocation ? ) {
  //Call api to the backend
  self.updateCurrentLocationToServer(location)

  // Update UI
  self.updateHeaaderView()
  if let currentLocation = location?.coordinate {
    currentLocationMarker?.position = currentLocation
    currentLocationMarker?.rotation = location?.course ?? 0
    self.focusToLocation(location: currentLocation)
  }
}
This piece of code updates the map with our current location (indicated with a marker .png image) and calls the updateCurrentLocationToServer() method which does two things.
func updateCurrentLocationToServer(_ location: CLLocation ? ) {
  if !Cache.shared.allowTrackingLocation {
    return
  }
  if let lastUpdateLocation = Cache.shared.lastUpdateLocation {
    let time = Date().timeIntervalSince1970 - lastUpdateLocation.time
    if (time < 20) {
      return
    }
  }

  guard
  let _currentLocation = location?.coordinate
  else {
    return
  }
  Cache.shared.lastUpdateLocation = (lat: _currentLocation.latitude, lng: _currentLocation.longitude, time: Date().timeIntervalSince1970)
  RealtimeDBAPI.shared.trackingLocation(location: _currentLocation) {
    (result) in
    //
  }
}
- It updates our Cache object (discussed below) with the line
Cache.shared.lastUpdateLocation = (lat:_currentLocation.latitude,lng:_currentLocation.longitude,time:Date().timeIntervalSince1970) - It calls an API to update our database with the new real time location.
RealtimeDBAPI.shared.trackingLocation(location: _currentLocation) { (result) }. We discuss this in detail in Part 2: Building a Live Driver Tracking Backend.
Cache.swift
Like LocationManager.swift, Cache.swift is a globally accessible singleton. It is initialized with the line static let shared = Cache() when the app is launched. It's most important method is lastUpdateLocation() which saves the phone's last known location.
var lastUpdateLocation: (lat: Double, lng: Double, time: Double) ? {
  set {
    let location: [String: Any] = ["lat": newValue?.lat ?? 0, "lng": newValue?.lng ?? 0, "time": newValue?.time ?? 0]
    userDefaults.set(location, forKey: USER_DEFAULT_KEY.LAST_UPDATE_LOCATION)
  }
  get {
    if let location = userDefaults.object(forKey: USER_DEFAULT_KEY.LAST_UPDATE_LOCATION) as ? [String: Any],
      let lat = location["lat"] as ? Double,
        let lng = location["lng"] as ? Double,
          let time = location["time"] as ? Double {
            return (lat: lat, lng: lng, time: time)
          }
    return nil
  }
}
Swift tracking implementation and next steps
We’ve outlined a simple way to include iOS geolocation and tracking features in your iOS app, but the work doesn’t stop here. As your delivery service gets more popular, you'll might want to add customer notifications with real time ETAs ("Your delivery driver is arriving in 5 minutes!") or even a tracking link showing the location of your driver. In app driver tracking is the basis for all of these features.
👋 As always, if you have any questions or suggestions for me, please reach out or say hello on LinkedIn.
In my next post, I'll show you how to save your driver's real time location in the cloud and make it available for other services to consume as an API.