React Google Maps: Build with Google Maps using React
React components and hooks for the Google Maps Javascript API.

I want to tell you about my favorite software library and the one I use the most: React Google Maps , maintained by Google and the engineering team at Ubilabs. In this tutorial series, I'll explain why I think its fantastic and teach you how to use it to build performant, great looking map applications quickly, with code that's simple to write and easy to maintain.
Part 1: React Google Maps: Build with Google Maps using React (this article)
Part 2: Google Maps with React: Add a Google Map and style it
Part 3: Add markers and info windows to a Google Map using React
Part 4: How to draw shapes on your Google Map in React
Part 5: The place autocomplete widget in react-google-maps
Part 6: Draw a route polyline using prebuilt web components in React
Part 7: Places UI Kit web components in React
What is the React Google Maps library?
React Google Maps (@vis.gl/react-google-maps) is a wrapper for the Google Maps Javascript API. It allows you to quickly scaffold a Google Map based app and manage user interactions in a way that is consistent with React. The library has everything you need to build a full featured Google Maps web application - from displaying maps with clickable markers to adding shapes, polylines, and address autocomplete. Each section in this tutorial comes with code examples that you can use to build your own Google Map applications.
What is the Google Maps Javascript API?
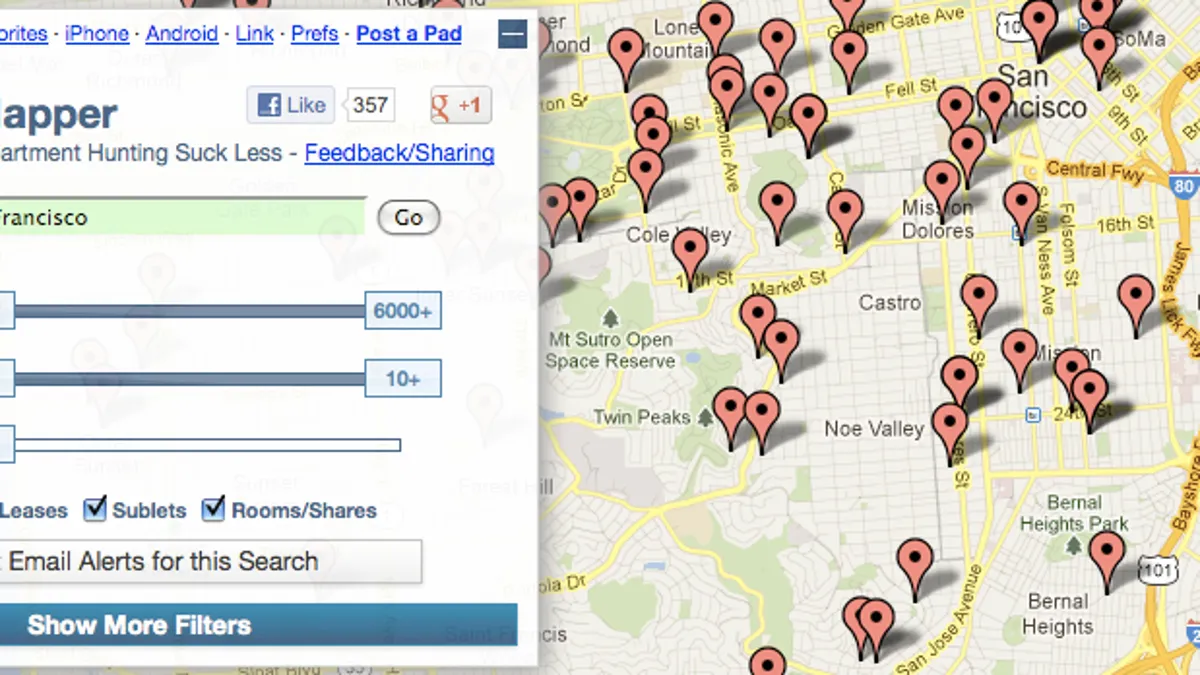
When Google Maps launched the Javascript API (Application Programming Interface) in 2005, it quickly became one of the most popular web APIs, ever. The API allowed you to embed a simple Google Map on your website and this allowed all kinds of applications to get built. For the first time, developers could embed a dynamic, interactive map (one you could scroll, zoom, and click around) directly into their own websites and layer their own data on top. My favorite was PadMapper, which "mashed up" Craigslist apartment listings with a Google Map so you could see exactly where each listing was located.
@vis.gl/react-google-maps is a great example of Google meeting developers where they are. When the Maps JavaScript API launched in the mid-2000s, vanilla JavaScript and jQuery ruled the web. But React has been the dominant frontend library since around 2017 (and it still is today) so releasing a first-class React wrapper for the Maps API was a natural and long overdue move.
Why use React Google Maps?
The Maps Javascript API is what's known as an imperative API. You interact with it by creating objects and calling methods, explicitly telling it step by step what to do, rather than simply describing the outcome you want. For example, here's how you would use the Maps JavaScript API to create a map that drops a marker wherever you click.
<!DOCTYPE html>
<html>
   <head>
      <script
         src="https://maps.googleapis.com/maps/api/js?key=YOUR_API_KEY&callback=initMap"
         defer
         ></script>
      <style>
         #map { width: 100vw; height: 100vh; }
      </style>
   </head>
   <body>
      <div id="map"></div>
      <script>
         window.initMap = function () {
           const map = new google.maps.Map(document.getElementById('map'), {
             center: { lat: 49.2827, lng: -123.1207 },
             zoom: 12,
           });

           const marker = new google.maps.Marker({
             map,
             position: { lat: 49.2827, lng: -123.1207 },
           });

           map.addListener('click', (e) => {
             marker.setPosition(e.latLng);
           });
         };
      </script>
   </body>
</html>
First, the Google Maps script is loaded in the <head> via a <script> tag, with your API key in the URL. This gives your webpage access to the Google Maps Javascript API and all the classes, methods, and services (like google.maps.Map, google.maps.Marker etc) that you need to build map based features.
<script
   src="https://maps.googleapis.com/maps/api/js?key=YOUR_API_KEY&callback=initMap"
   defer
   ></script>
Second, in the <body>, we add an empty <div id="map">. This is just a placeholder that the map will be injected into.
Next, in the second <script> block, we define initMap as a global function that runs once the Maps API has finished loading. Inside it,
- The map is created by calling
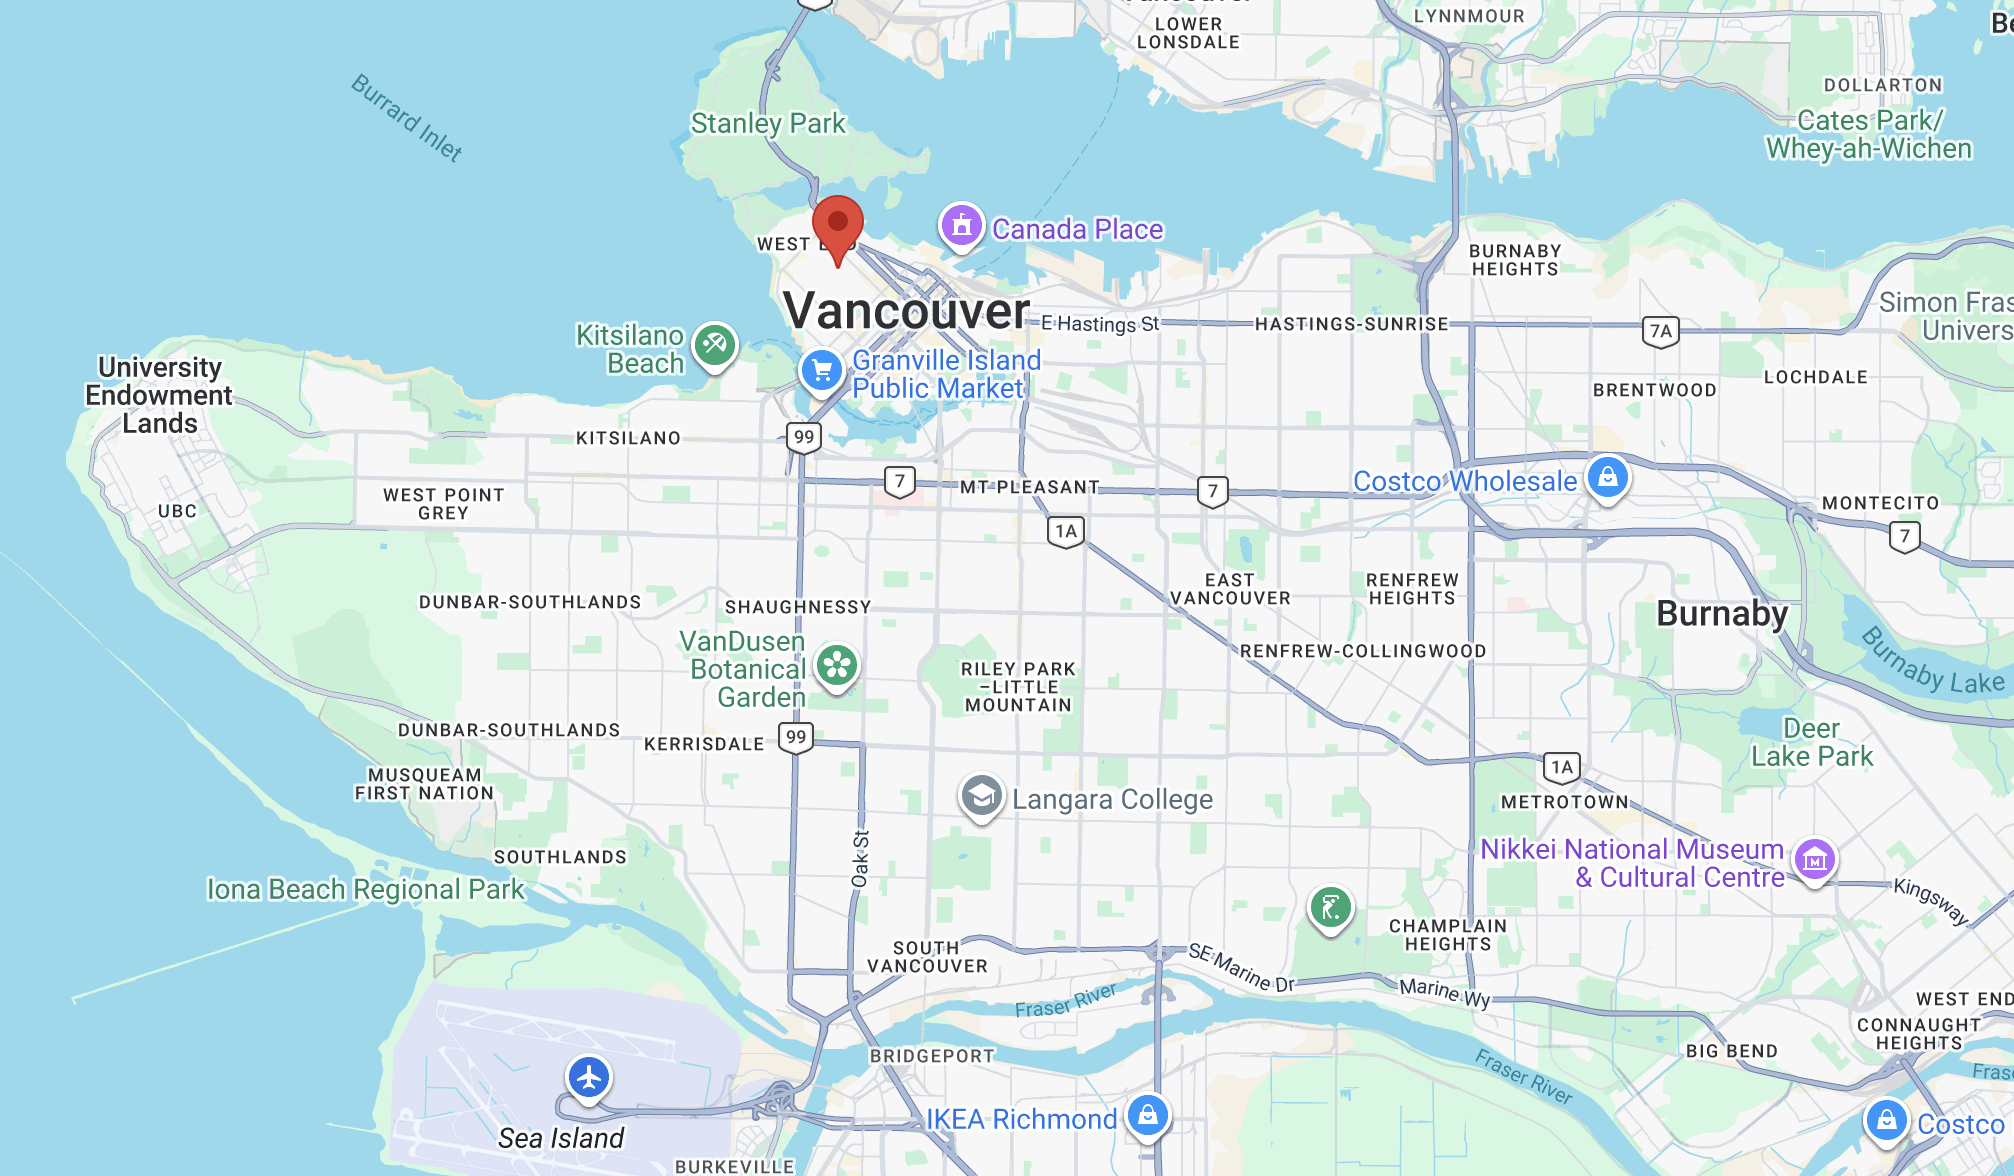
new google.maps.Map(), passing it the div and centering it on 49.2827, -123.1207 (Vancouver, Canada). - A marker is created with
new google.maps.Marker(), placed at the same coordinates and attached to the map. - A click listener is added with
map.addListener('click', ...). Whenever the user clicks the map, it grabs the coordinates from the click event and callsmarker.setPosition()to move the marker there.
So this works great! But notice is how manual all of this is. You're directly creating and managing objects, calling methods on them, and wiring up events yourself. Nothing updates automatically. In a more complex app with lots of markers, dynamic data, or UI state to keep in sync, this approach quickly becomes difficult to manage and maintain.
Instead, here's how you would do the same thing using the @vis.gl/react-google-maps library.
import { useState } from 'react';
import { APIProvider, Map, Marker } from '@vis.gl/react-google-maps';

function App() {
  const [markerPosition, setMarkerPosition] = useState({ lat: 49.2827, lng: -123.1207 });

  return (
    <APIProvider apiKey="YOUR_API_KEY">
      <Map
        style={{ width: '100vw', height: '100vh' }}
        defaultCenter={{ lat: 49.2827, lng: -123.1207 }}
        defaultZoom={12}
        onClick={(e) => setMarkerPosition(e.detail.latLng)}
      >
        <Marker position={markerPosition} />
      </Map>
    </APIProvider>
  );
}
Here, @vis.gl/react-google-maps lets you work declaratively with components and hooks that feel native to React. The marker is just a <Marker/> component that is a child of the parent <Map/>. Its position is a piece of state, and when that state changes, React automatically re-renders and the marker moves.
You don't hold any references, you don't call any methods, and you don't write any synchronization logic. You just describe what the map should look like given the current state, and the library handles the rest. This approach scales surprisingly well. Even in large applications, your code stays clean, your components stay reusable, and the whole thing remains easy to work with as it grows.
Every single demo and code example in this blog uses @vis.gl/react-google-maps, and if your frontend is built in React, you should use it too.
What you'll learn in the series
By the end of this tutorial series, you'll be an expert at the @vis.gl/react-google-maps library. Specifically, I'll teach you how the library works by showing you how to:
- Embed a basic Google Map and add markers to it,
- Draw simple shapes and complex polylines,
- Add an address autocomplete text box and,
- Use more complex UI components such as the Places UI Kit
No prior experience with React is assumed, but to get the most out of this tutorial, you should be already be familiar with React basics e.g. creating components, passing references and maintaining state (in particular useState). Additionally, you should be know how to run a basic Node project and be comfortable with a code editor such as Visual Studio Code.
Next: Part 2: react-google-maps: Add a Google Map and style it