Style a Google Map any way you want

Tired of the default Google Maps look? This tutorial series walks you through how to style a Google Map and any datasets that you bring into it. By the end, you'll have full creative control over your map's appearance, moving beyond the standard interface to something that perfectly fits your brand and use case.
Part 1: Style a Google Map any way you want (this article)
Part 2: Apply styles for Google Maps using JSON style arrays
Part 3: Cloud based map styling for Google Maps
Part 4: Google Maps data driven styling for boundaries
Part 5: Create a heatmap in Google Maps with data driven styling
Part 6: Upload datasets to the Google Cloud Console using the Maps Datasets API
Part 7: Style Google Maps with your own data using data driven styling
Three ways to style a Google Map
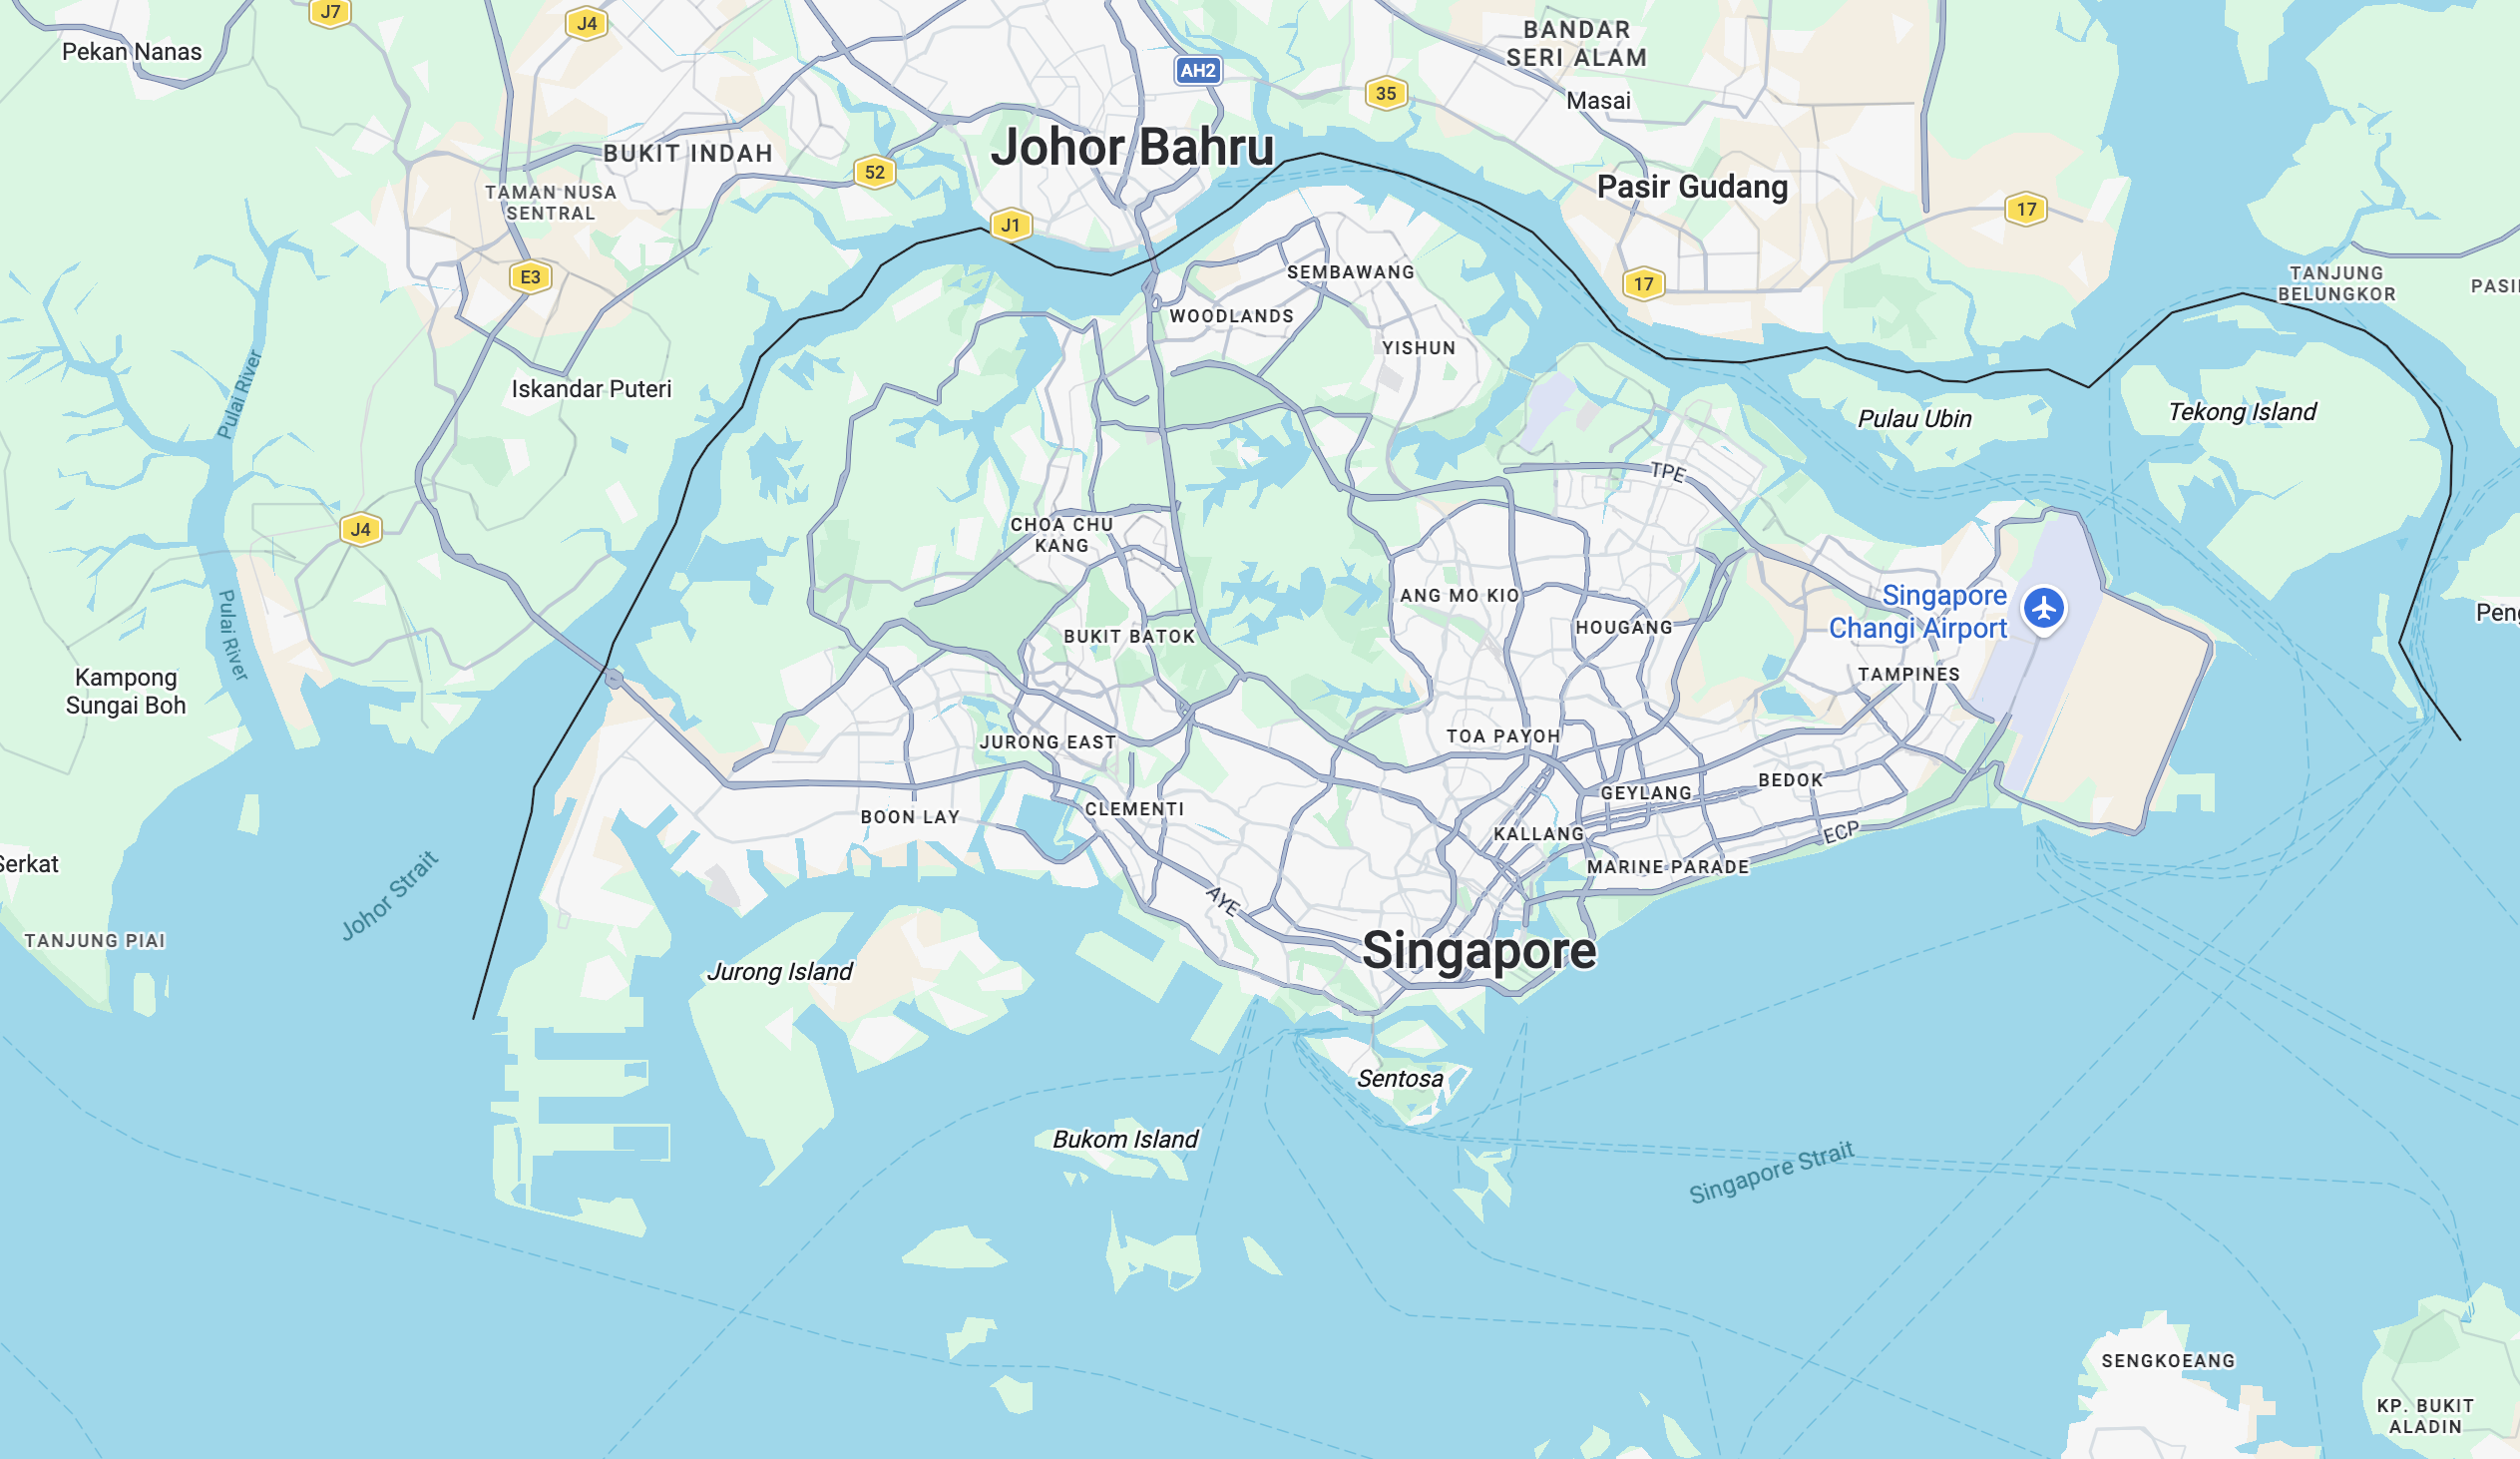
The default Google Map style (updated in March 2025) is a clean, bright, enterprise look built around a few core color choices:
- Land/landscape: light beige or off-white (
#f5f5f5-ish) - Water: light blue (
#aadaffor similar) - Roads: white for local streets, yellow/orange for highways, with darker outlines
- Parks and green spaces: light green (
#DAF6E2) - Buildings: light gray with subtle 3D extrusions at higher zoom levels
This works for most apps, but sticking with the defaults means your map looks like everyone else's. To give it some personality (or to hide map features such as restaurants and businesses that might clutter your map), you have three main options:
- Use a JSON styles array,
- Apply cloud based map styling in the Google Cloud Console or,
- Switch between Google's built in map types, navigation options and controls.
Using a JSON styles array
My favorite way to style a Google Map is by passing in a JSON array of style rules directly in your code. Each rule targets a map feature (roads, water, landscape) element (geometry, labels) or styler (color, visibility, weight). For example, the JSON sample below keeps point of interest and place labels to a minimum:
[
{
"elementType": "labels",
"stylers": [
{
"visibility": "off"
}
]
},
{
"featureType": "administrative.land_parcel",
"stylers": [
{
"visibility": "off"
}
]
},
{
"featureType": "administrative.neighborhood",
"stylers": [
{
"visibility": "off"
}
]
},
{
"featureType": "poi.business",
"stylers": [
{
"visibility": "off"
}
]
},
{
"featureType": "road",
"elementType": "labels.icon",
"stylers": [
{
"visibility": "off"
}
]
},
{
"featureType": "transit",
"stylers": [
{
"visibility": "off"
}
]
}
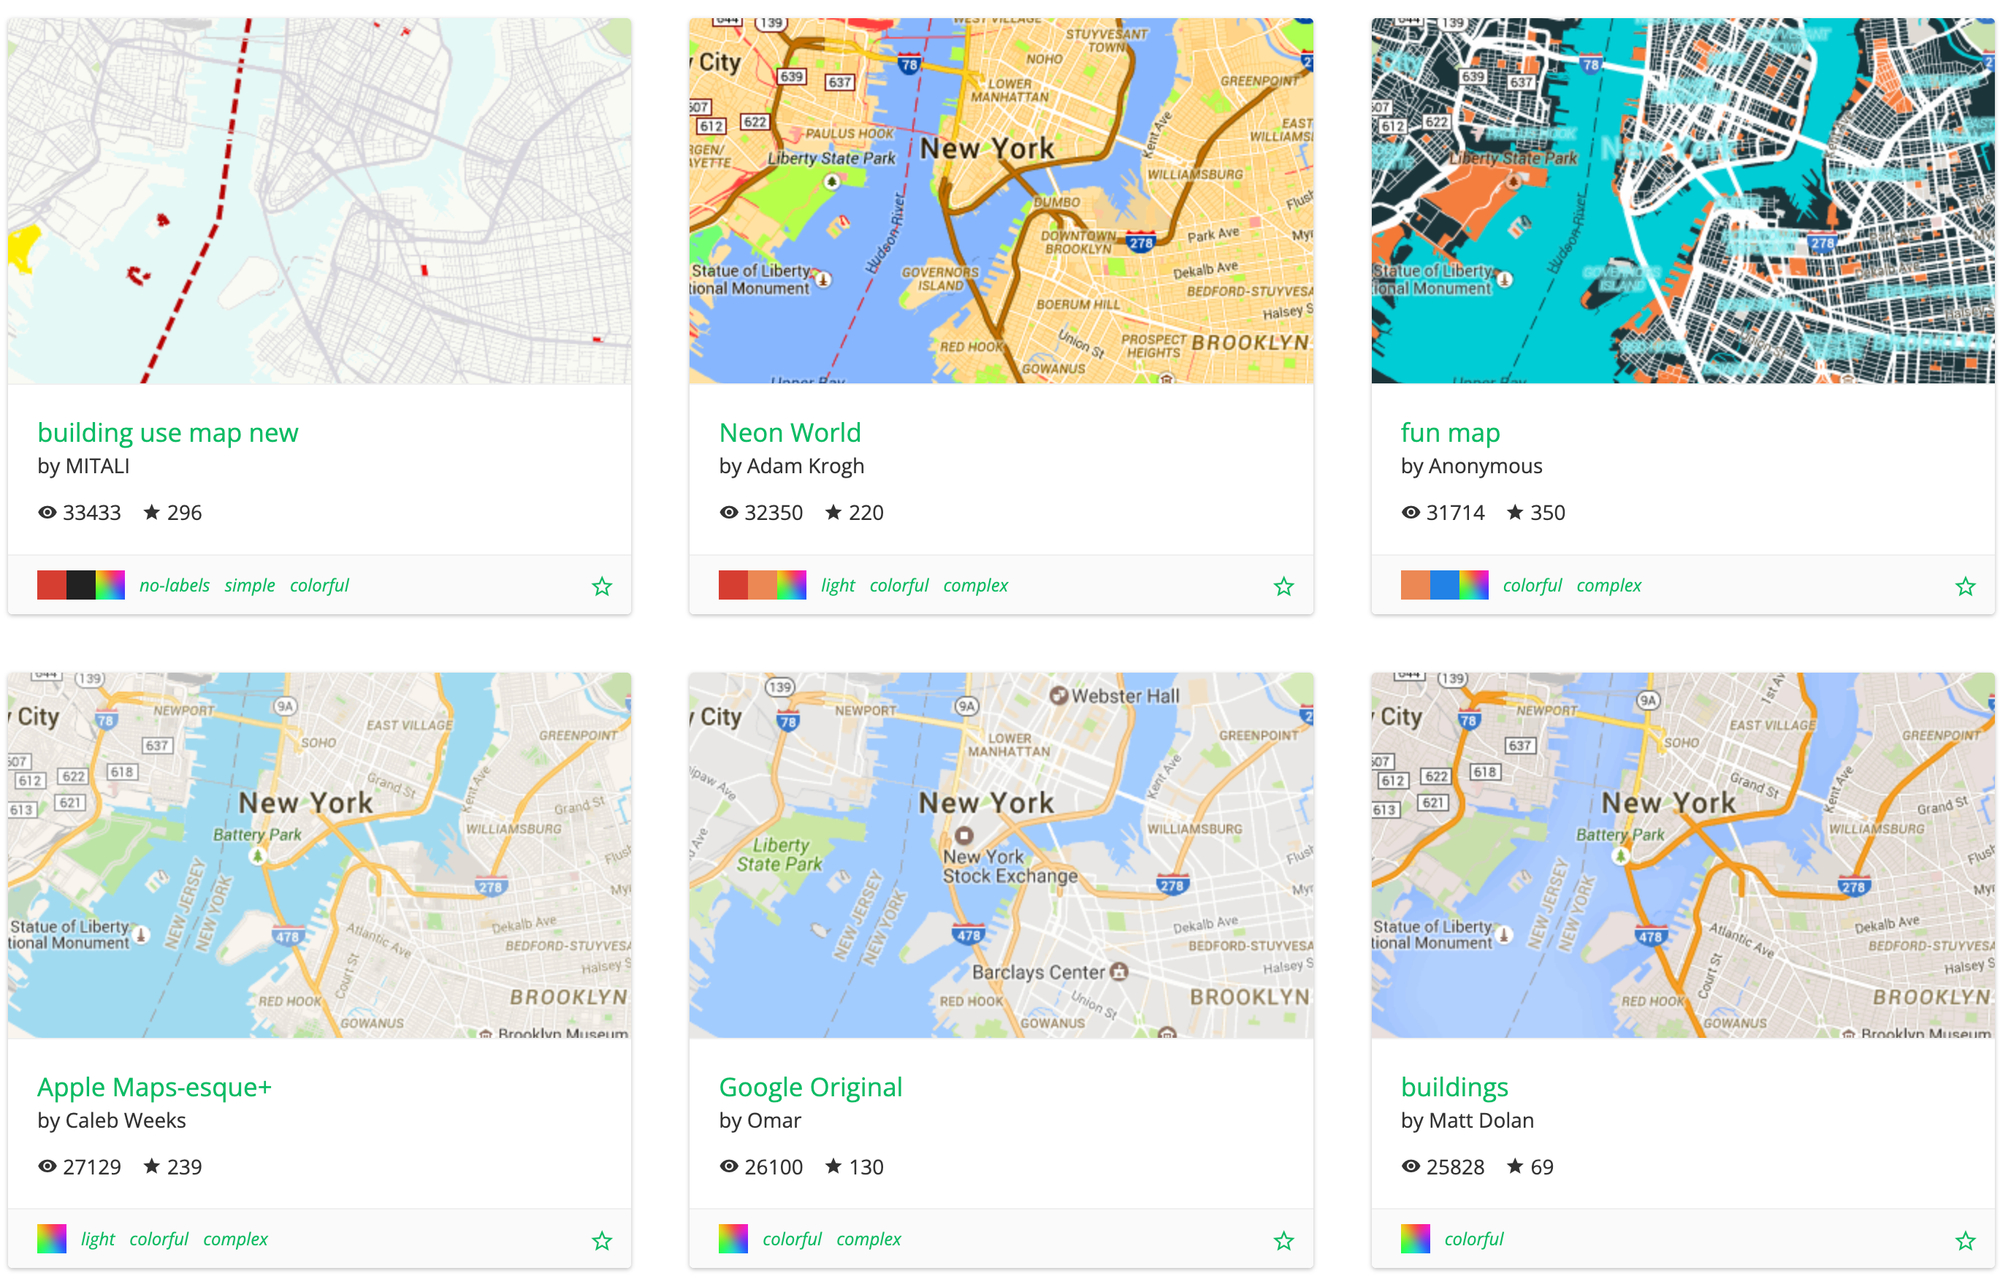
]Its simple, easy to implement and you get immediate feedback about what elements have changed each time you refresh the map. There's also a wide variety of third party websites such as Snazzy Maps and Mapstyle (Google's own styling wizard) that provide pre-built JSON styles you can drop in or customize. These are useful starting points if you don't want to build from scratch.
Cloud based map styling
Cloud based map styling is Google's preferred way to style a Google Map. You create and manage styles in the Google Cloud Console, then reference them via a Map ID in your code.
This approach lets you reuse the same style across different apps and generally results in less verbose code because you don't have to deal with a bloated styles array. The downside is that each new style needs to be built from scratch which might take a while even with the help of the cloud based map styling UI.
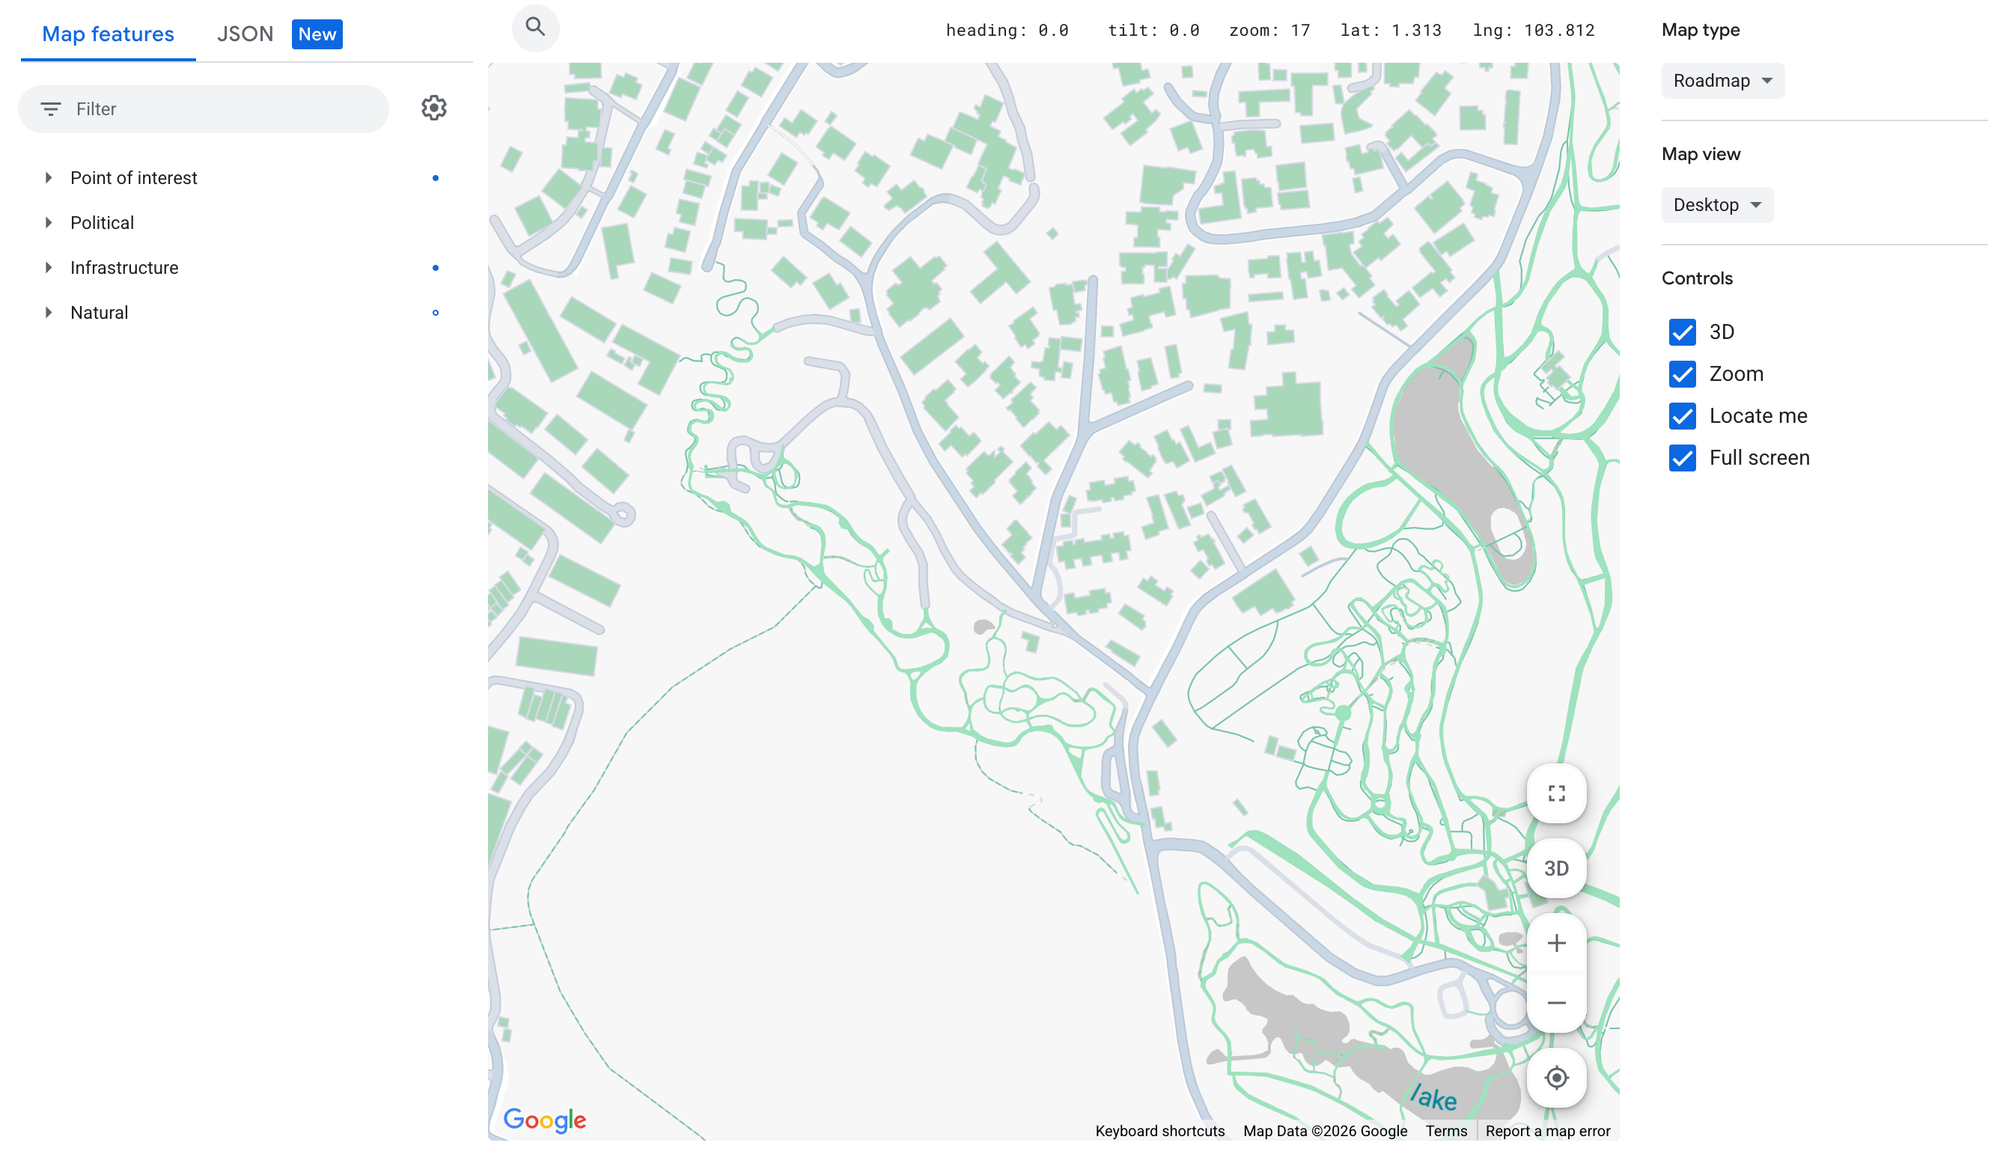
Map type options
If you are happy with how the default base map looks but just want to change how information is displayed, you can use the mapOptions configuration object. At a high level, mapOptions gives you three main levers for styling a Google Map.
- You can pick a base look with
mapTypeId(ROADMAP,SATELLITE,HYBRID, orTERRAIN) andcolorScheme(LIGHT,DARK, orFOLLOW_SYSTEM) for zero effort changes, - You can shape the viewport with
center,zoom,heading,tilt,minZoom,maxZoom, andrestrictionto control what users see and how far they can move, - And you can strip down or reconfigure the UI with individual control toggles (
zoomControl,fullscreenControl,streetViewControl).
In my experience, I've found that the most useful UI element to add is mapTypeControl. Setting it to true gives you users a UI to switch between the four default base layers:
roadmapthe default street map,satellitesatellite imagery or high resolution photos taken from planes,hybridsatellite imagery with roads and labels,terraintopographic features with contour lines
You can also change which map controls are displayed and where by altering appropriate control options fields within the MapOptions object upon creation of the map like so:
innerMap.setOptions({
    mapTypeControl: true,
    mapTypeControlOptions: {
        style: MapTypeControlStyle.DROPDOWN_MENU,
        mapTypeIds: [MapTypeId.ROADMAP, MapTypeId.TERRAIN],
        position: ControlPosition.TOP_LEFT,
    },
});
If you are using the @vis.gl/react-google-maps library (and you should), you don't need to pass a separate MapOptions object. The library spreads the options out as individual props on the <Map> component. So instead of one config object, each property becomes its own prop.
<Map
  style={{ width: "100vw", height: "100vh" }}
  defaultCenter={{ lat: 1.29027, lng: 103.851959 }}
  defaultZoom={12}
  mapTypeControl={true}
  mapTypeControlOptions={{
    style: 2,
    mapTypeIds: ["roadmap", "hybrid"],
    position: 1,
  }}
></Map>
Full documentation for the MapOptions interface can be found here.
Google Maps pricing
Applying styles to a Google Map is free, but loading a Google Map triggers the Dynamic Maps SKU. Each map load costs $7 CPM ($7 per 1,000 so $0.007 per load) but there is a generous free tier of 10,000 map loads per month so most websites and apps pay nothing at all. Beyond that, pricing is tiered according to the following schedule:
| 0 - 10k | 10k - 100k | 100k - 500k | 500k - 1M | 1M - 5M | 5M+ | |
|---|---|---|---|---|---|---|
| Dynamic Maps | FREE | $7.00 | $5.60 | $4.20 | $2.10 | $0.53 |
What you'll learn in this tutorial series
In this tutorial series, I'll show you how to build a production Google Map with your own data and styling on it. Specifically, I'll explain:
- The difference between Cloud Based Map Styling (styling Google's base map) and data driven styling (styling features on top of it),
- How to use the Google Cloud Console to manage the relationship between maps, styles and datasets,
- How to import data into your map using either a manual upload or the (hardly ever used) Maps Datasets API,
- The basics of styling line, point and polygon datasets and,
- The difference between data driven styling for boundaries (which uses Google's built in boundary data) and data driven styling for datasets (where you upload your data to Google Cloud).
Each section is grounded in real, runnable code. You'll build a working example with real world datasets as you go.
👋 As always, if you have any questions or suggestions for me, please reach out or say hello on LinkedIn.
Next: Part 2: Apply styles for Google Maps using JSON style arrays